In New Zealand, we’ve reached a turning point in how we think about building performance. For years, insulation has meant squeezing batts between studs and nogs/dwangs, accepting (or just ignoring) the thermal bridges and moisture risks that come with that strategy.
But as performance expectations rise, and as councils & clients demand more information and better outcomes, we’re seeing a smarter approach take hold: external insulation. That’s because it keeps the full structure warm and fixes a bunch of the risks that come along with thermal bridging in a simple and straightforward way.
Think of it as giving a building a big warm jacket - a simple analogy that captures the idea of wrapping the structure in a continuous protective thermal layer over everything. It’s already common practice overseas, external insulation is starting to gain real traction here. And it’s not just about energy efficiency - it’s about durability, condensation control, and unlocking more design freedom. In other words: a better way to build.
Why External Insulation is Becoming Popular
Over the last two decades, energy efficiency and the need (because building officials are asking) to reduce thermal bridging have pushed external insulation forward. In New Zealand, it began appearing more widely around 2020. Overseas, places like Canada and Europe embraced it much earlier. For Canada, it was to close thermal bridges at slab edges and steel studs, but for Europe EIFS-style systems were used broadly to externally insulate and remediate damaged buildings after WWII.
The issue comes down to thermal bridging. Traditional stud walls interrupt insulation with timber or steel members, lowering the real-world R-value, since heat will flow fastest through the path of least resistance. For example, an R3 batt between timber studs might only perform as R2 or less and with steel studs might only perform around R1! By contrast, when installed continuously outside the framing, that same R3 insulation delivers close to its full rated value over both stud types.
The Added Benefit: Condensation Control
Insulating outside doesn’t just boost thermal performance. It also changes where condensation is likely to form. Internal insulation can result in the dew point temp surfaces in the middle of the wall where moisture can damage framing. External insulation (at a minimum thickness) shifts condensation risk to a safer location in the cavity outside the weathertightness line, making the wall assembly far more robust.
The same principle applies to roofs. Wherever it’s used, external insulation creates a more durable enclosure by keeping the structure and substrate warm and above that dew point temperature, which mitigates condensation. It also minimises thermal movement and provides an attic space that stays at a much more consistent temperature which is good for plant/mechanical.
Acoustic Considerations
In addition to all of the other benefits noted above, external insulation can also add additional acoustic insulation to an assembly both for transmission (STC) and absorption (NRC). Foam boards don’t do much, but a medium to high density mineral/stone wool board can help absorb and deaden a great deal of noise if installed in an external cladding cavity.

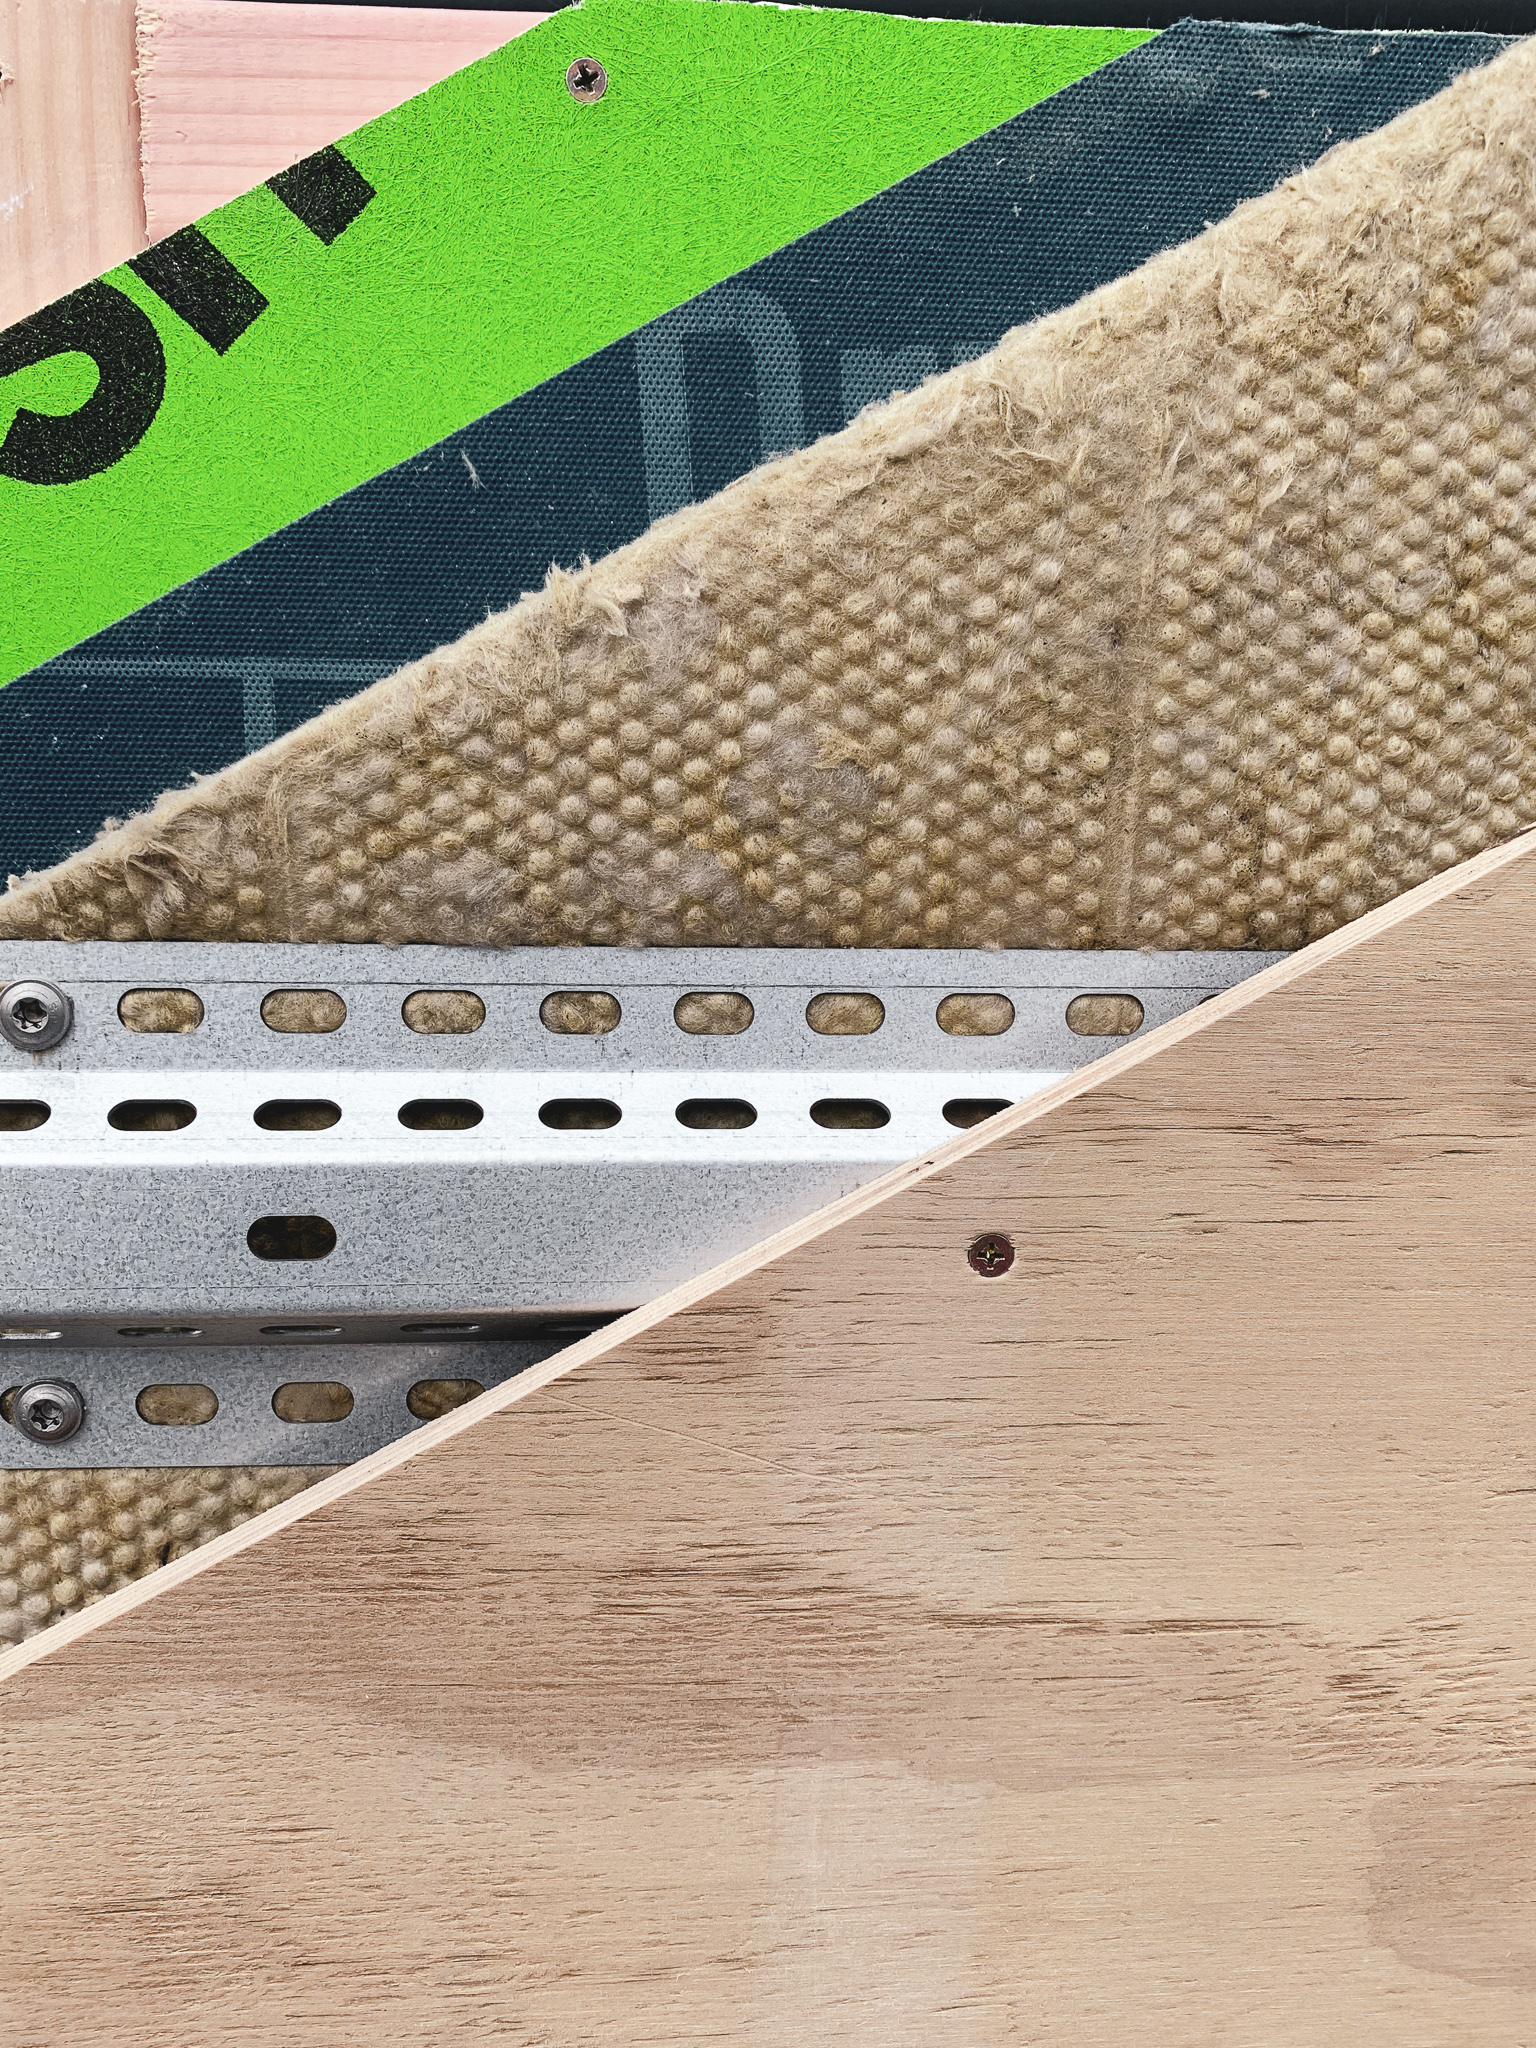
How an External Wall Assembly Works
At its core, the system is straightforward:
- Weather barrier: A membrane installed continuously on sheathing (a.k.a. RAB), acting as both water- and air-barrier and tied into window details and other transitions and flashings.
- Brackets and rails: Systems to stand the cladding off the wall and hold insulation in place. (Insulation can also be fixed with stick pins or separate screws with plates).
- Insulation layer: Mineral fibre or foam boards fixed outside the barrier.
- Air cavity and cladding: Ventilated space around 30mm between the outside surface of the insulation and the final external cladding.
This layered approach ensures thermal, moisture, and structural performance work together.
Design Flexibility, Not Constraint
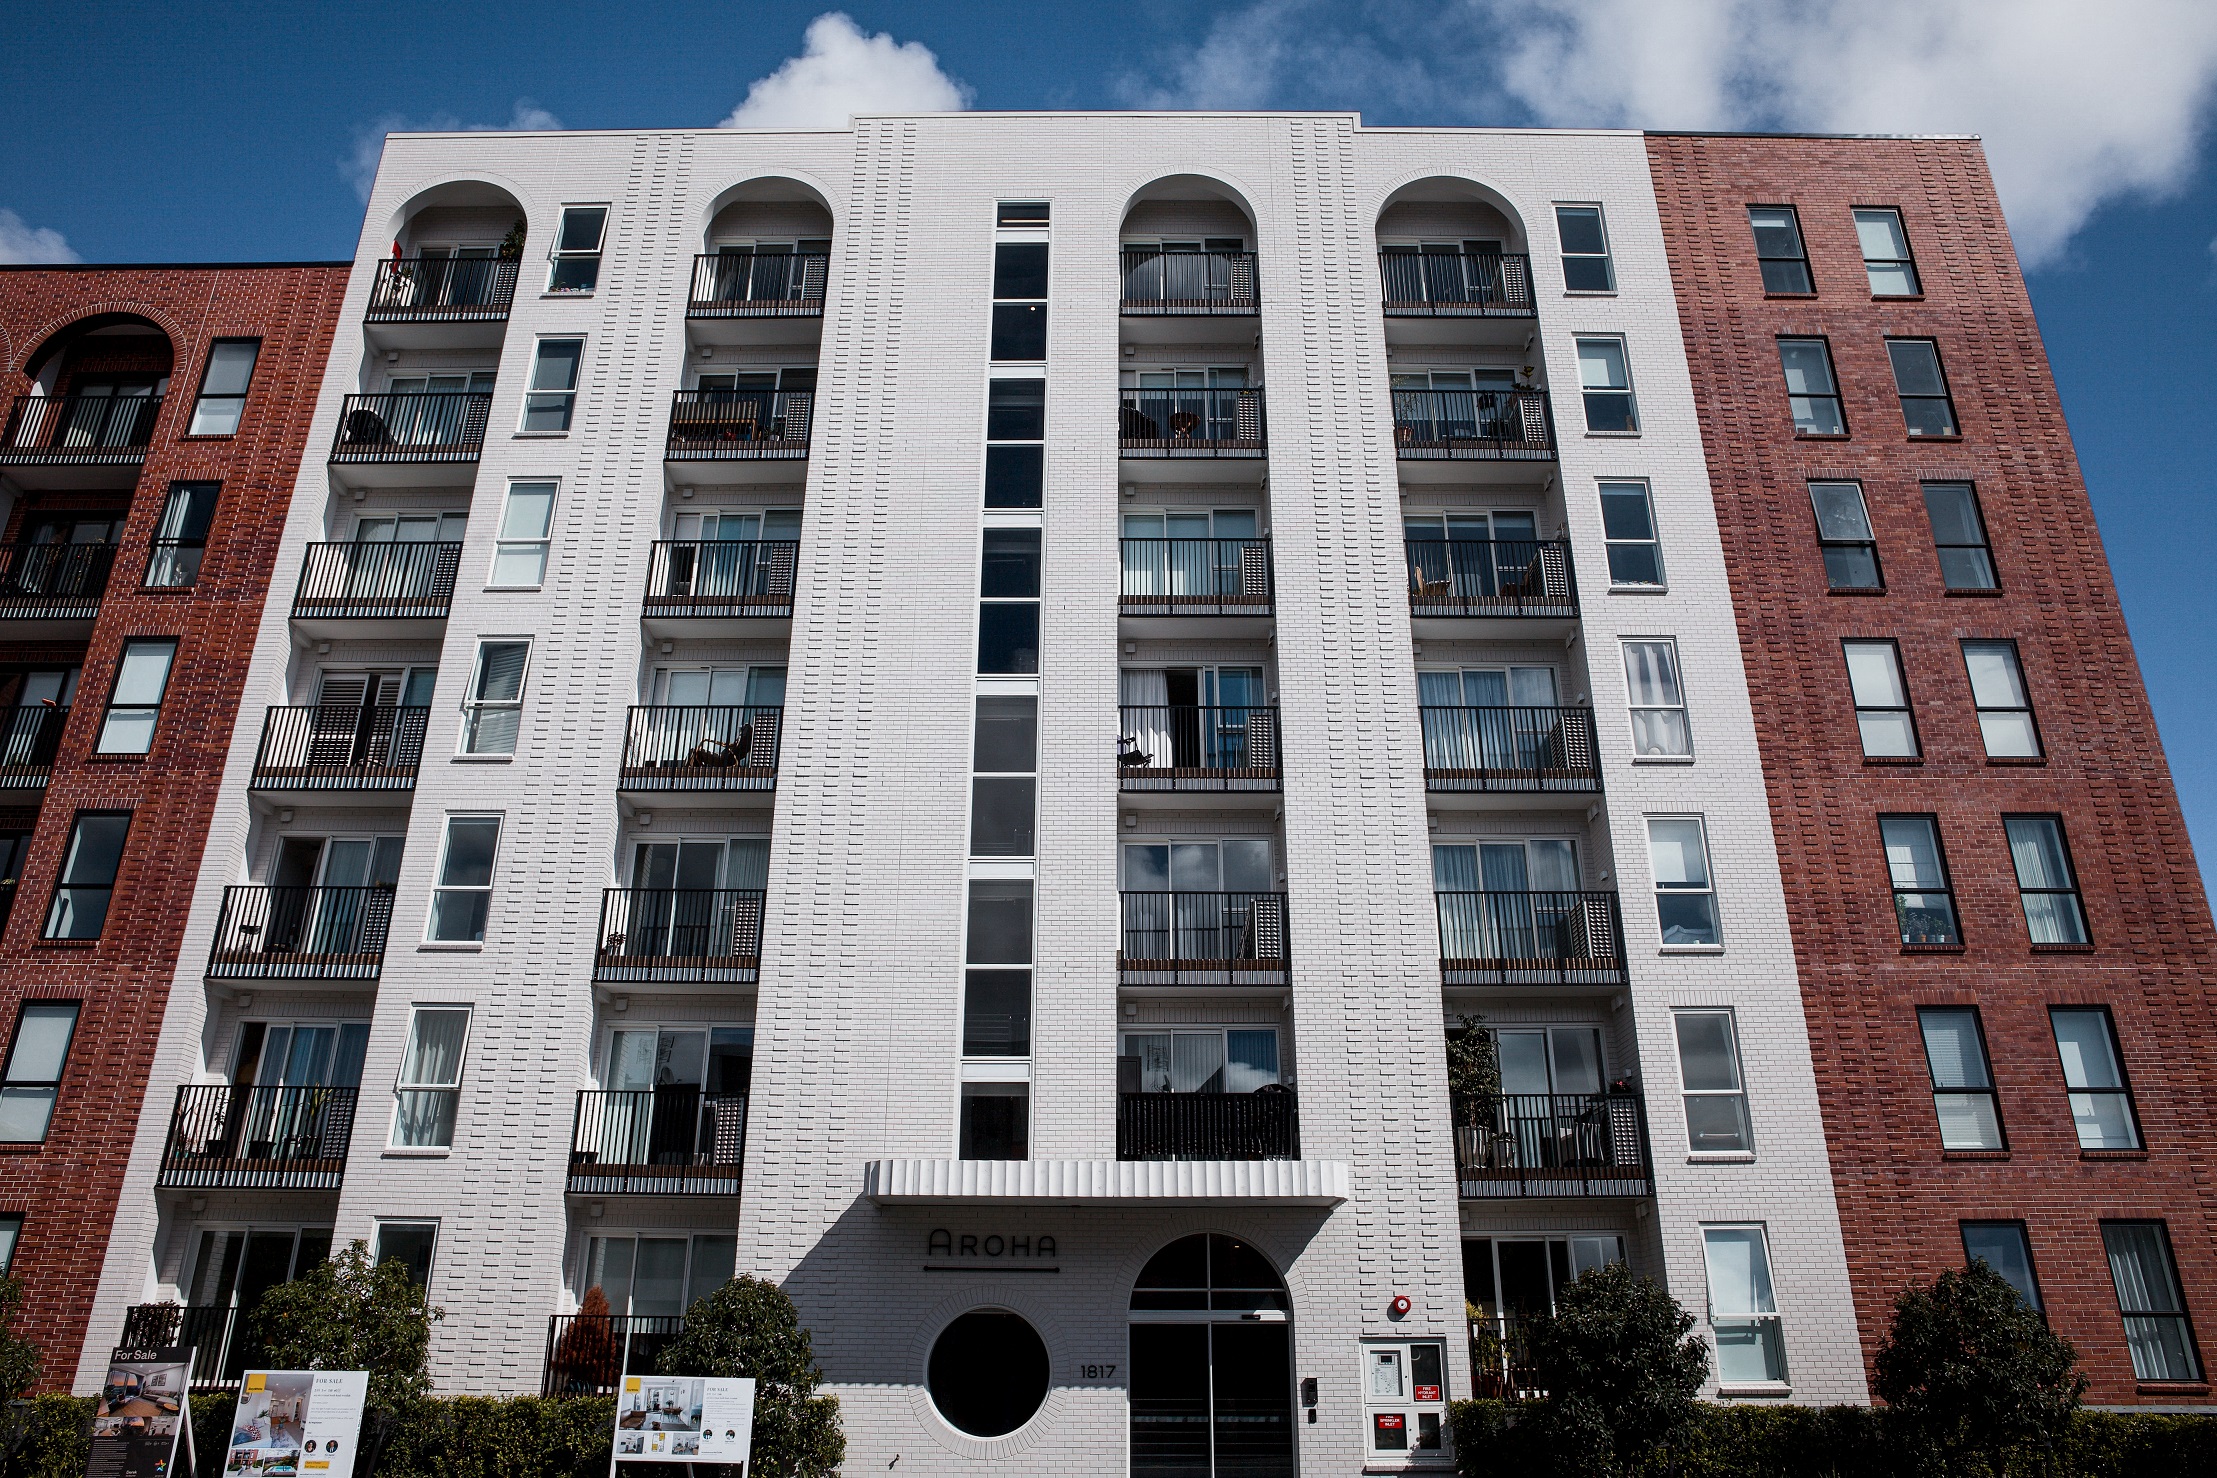
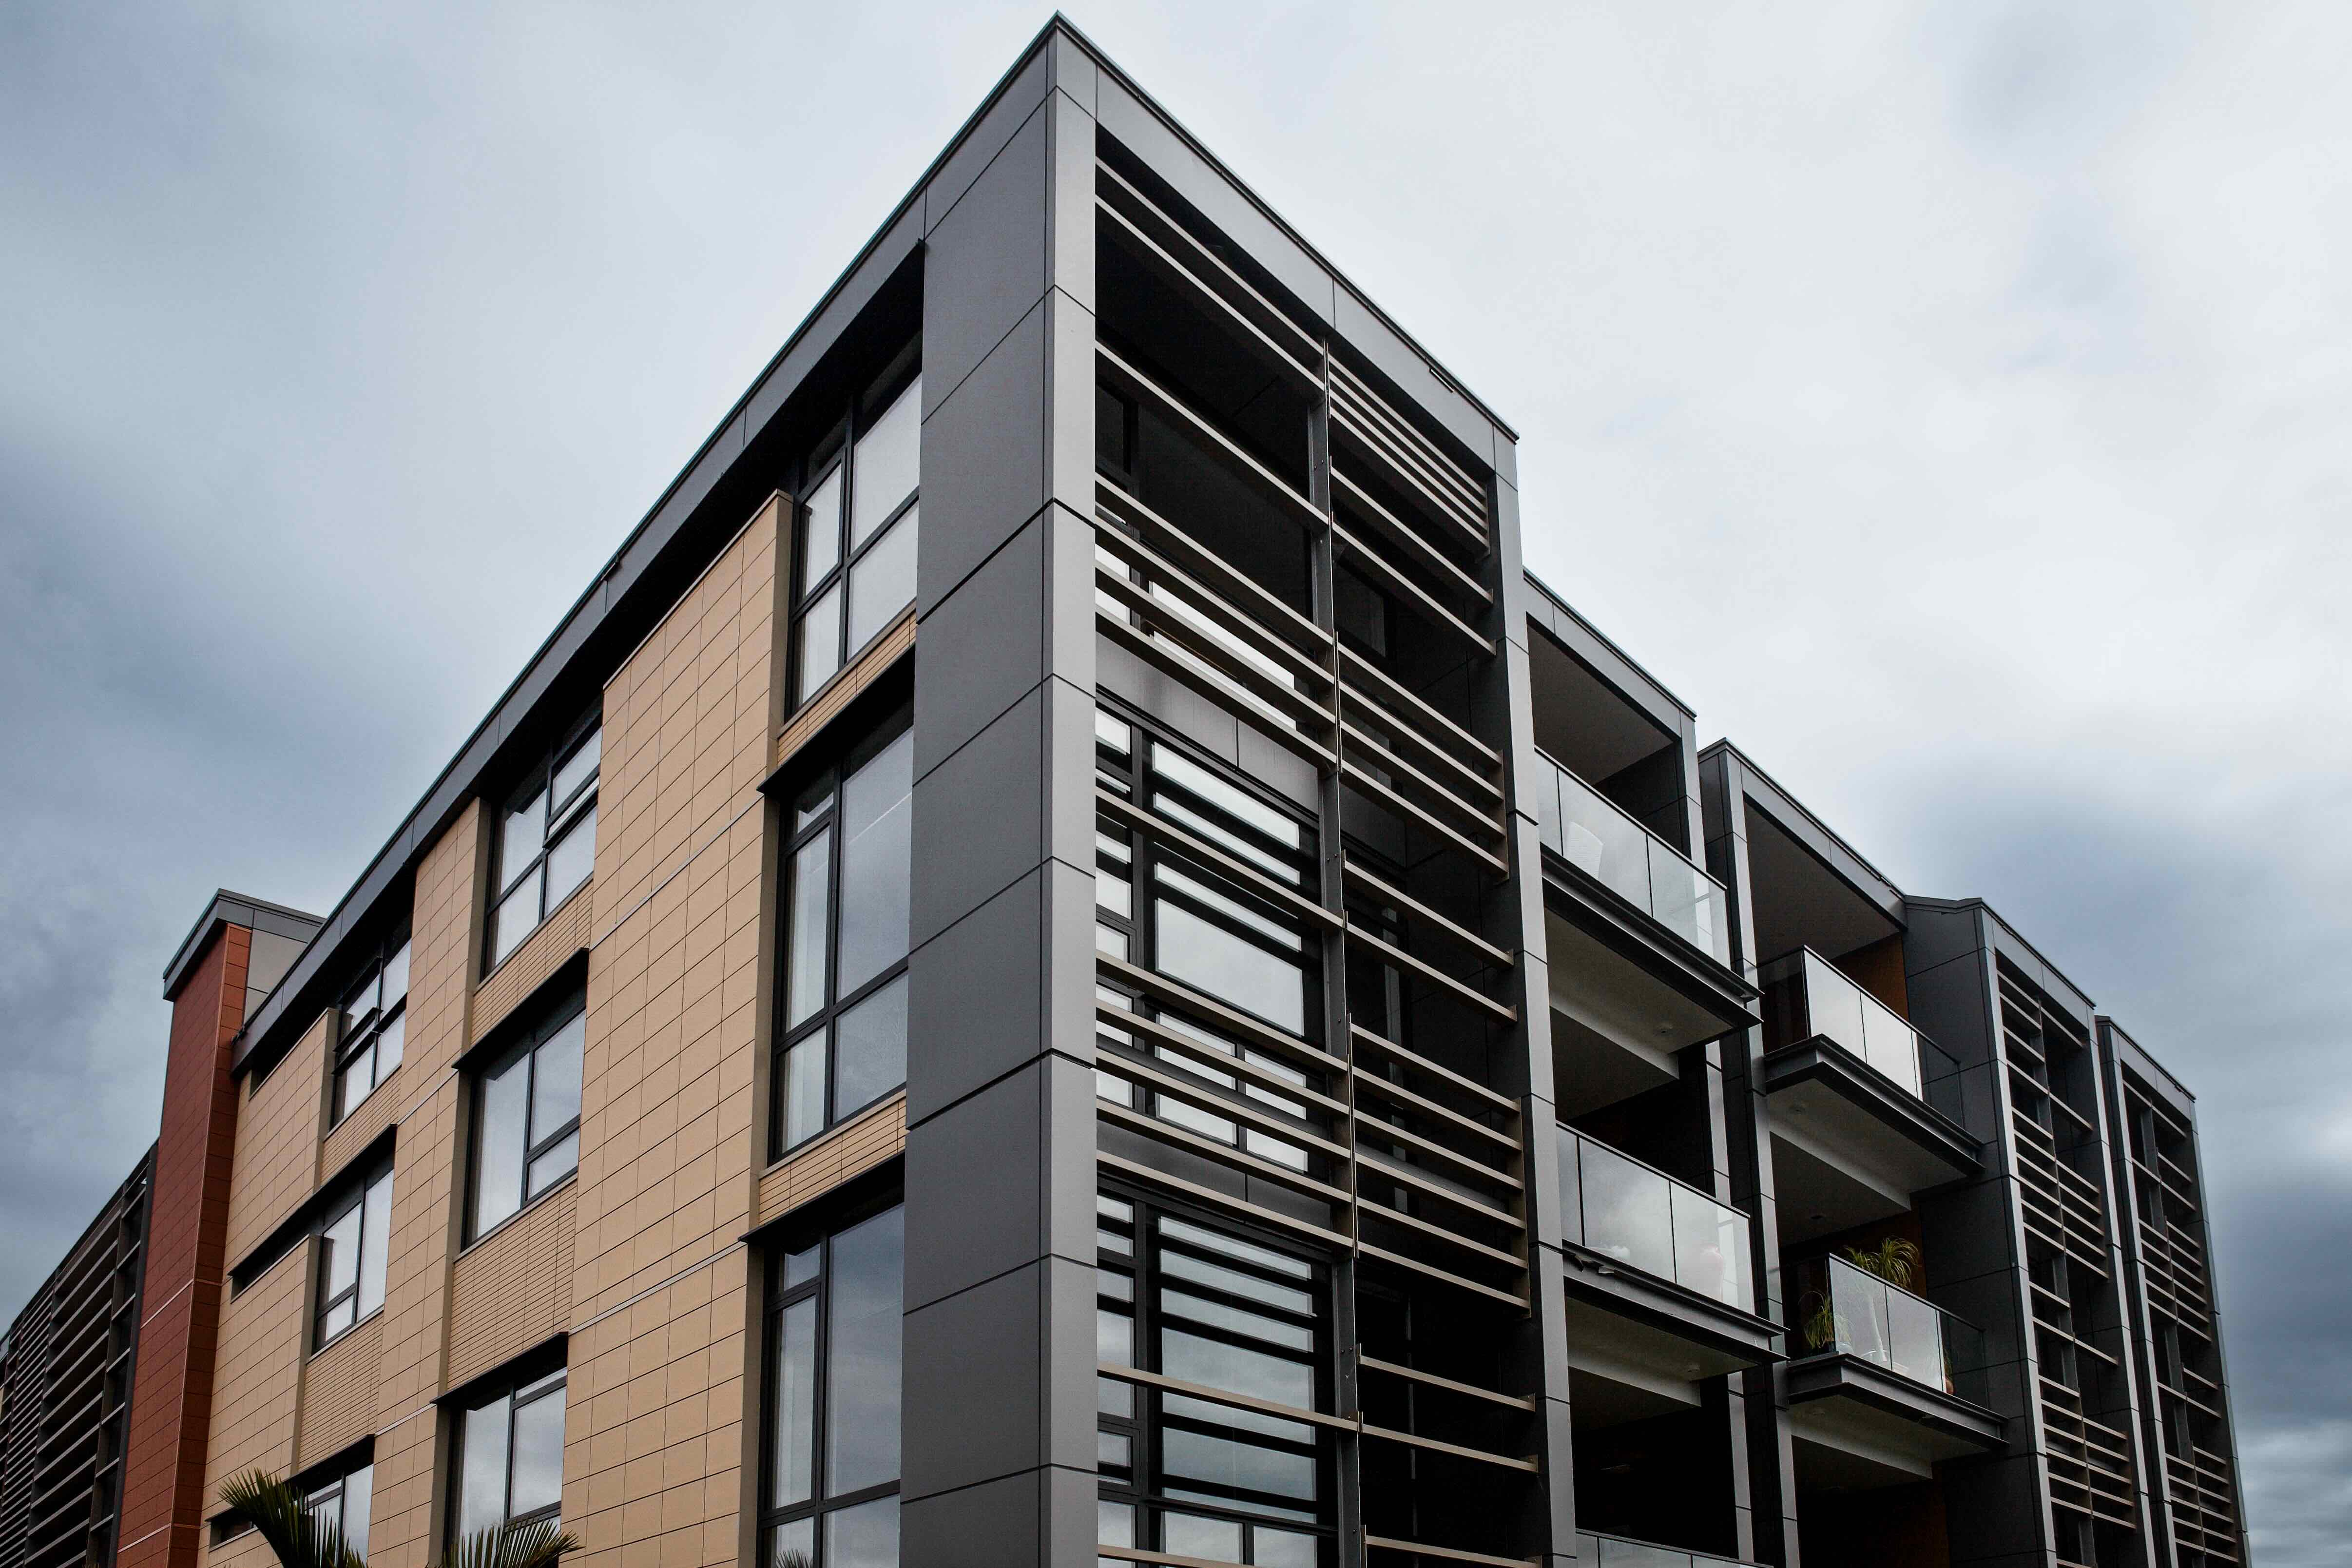
One common misconception is that external insulation limits design choices. In reality, the opposite is true. Almost any cladding can be fixed through rail systems: brick, metal panels, terracotta, fibre cement - whatever the design calls for. It also closes thermal bridges at slab edges, studs of any material, beams, columns, skylights, dormers, and even window frames.
External insulation is not a compromise; it’s an enabler.
Choosing the Right Insulation: Mineral Fibre vs. Foam Boards
When it comes to external insulation, there are two main options: mineral fibre boards and foam plastic boards. Each performs differently - and the right choice depends not just on thermal values and cost, but also on fire safety, condensation risk, and compliance.
Mineral fibre boards (like stone wool) are made by melting rock into fibres and compressing them into dense, semi-rigid boards. They’re non-combustible, vapour permeable, water-repellent, and great for acoustic performance, making them the safer and often preferred option for mid- and high-rise buildings where fire performance is heavily scrutinised. In fact, modern codes increasingly expect non-combustible insulation in cladding assemblies, especially after events like Grenfell. Mineral fibre is often used to form vertical and horizontal fire breaks, helping slow or stop flame spread behind the cladding.
Foam plastic boards (PIR, PUR, EPS, XPS) offer higher R-values per thickness and are generally lighter and more affordable. But most are combustible or meltable and vapour impermeable - so careful selection and detailing are essential to manage fire risk, avoid vertical fire spread, and prevent moisture from getting trapped. Foam can work well in smaller or low-rise buildings, but you need to be crystal clear on the combustibility expectations of the project, and how the board interacts with other materials in the cavity.
In short: mineral fibre is usually the safe, compliant choice, especially in complex or higher-risk buildings. Foam boards can be effective too but only with the right protections, smart detailing, and good communication across the design team.
Addressing Common Questions
Design teams often raise the same concerns:
- Do we need two wraps (one outside the insulation and one behind it)? Usually not. Mineral fibre is water resistant and fast draining, so it does not need to be wrapped. Some foams need protection, but this can be as easy as tapes/flashings at terminations and a water resistant facer on the board.
- Does wind reduce R-value? It can if the external insulation is soft or loose. With dense external boards installed tightly butted together, there’s hardly any loss.
- What about water absorption? Mineral fibre repels splashed water and it maintains integrity and will dry even if it gets fully soaked. Leaving edges sitting in water can allow water to wick upwards, so this should be avoided. As for foams, it depends on the material. Expanded Polystyrene (EPS), Extruded Polystyrene (XPS), and Polyurethane (PUR) are fine with a bit of water, but Polyisocyanurate (PIR) and Phenolic Foam should generally be kept dry.
- Is mineral fibre safe? Yes. It’s non-combustible (it’s used as fireproofing on pipes), it’s anti microbial (bugs don’t eat usually rocks), and it’s cut with a serrated knife so it doesn’t create airborne dust.
Combining Inside and Outside Insulation
For high-performance targets (R4–R5 walls, typical in colder climates), a hybrid approach is possible: insulation both between studs and outside, with the majority kept external. Ratios matter - the dew point must remain outside the water barrier for safety.
For an easy rule of thumb, it’s best to have ⅔ of the R-value outside the weathertightness line and ⅓ inside. If you need to go with less insulation outside, you should be checking for hygrothermal condensation risk over time with software like WUFI.
Practical Insulation Design and Coordination
Designing an externally insulated wall requires coordination across the team:
- Collect manufacturer data sheets to choose an insulation material based on combustibility, permeability, density with respect to project constraints.
- Select bracket/rail systems based on cladding type, structural load and thermal impact.
- Consider other installation methods. Lightweight claddings can be installed on battens fixed with just long screws through the insulation. It may seem impossible to install cladding without brackets through the insulation, but denser boards (above 110kg/m2) can allow the battens, screws, and insulation to work together as a truss to hold the cladding.
- Align rail spacing with cladding requirements and fixing/bracket spacing with stud spacing.
- Consider the details at slab edges, windows, and other transitions.
- Balance thermal performance against constructability and cost.
Done right, the result is a robust, flexible assembly that unlocks both performance and design freedom.
Code/council Compliance in New Zealand
At the moment, the acceptable solutions of the building code (e.g. E2/AS1) do show any externally insulation details, but this should not be a reason to avoid it. Most suppliers will assist with documentation to show B1 and B2 compliance of their products. E2 compliance would generally be shown through good detailing and use of other membranes and tape systems to provide a weathertightness line behind the insulation.
If you’re working on a larger project, your enclosure/envelope/facade engineer should be able to help get external insulation consented.
A Better Way Forward
External insulation is no longer just an overseas idea, it’s fast becoming the smarter way forward for New Zealand buildings. By addressing thermal bridges, reducing condensation risk, and expanding design possibilities, it creates wall assemblies that are both more durable and more flexible.
As performance expectations continue to rise, external insulation offers a simple but powerful shift in thinking: a way to build that doesn’t just meet the minimum standard, but delivers healthier, longer-lasting, and more adaptable buildings. In the end, it’s not just a detail - it’s a better way to build.
Talk to us about simplifying your next wall assembly with external insulation - get in touch at info@obsf.co or contact the team directly.

.jpg)