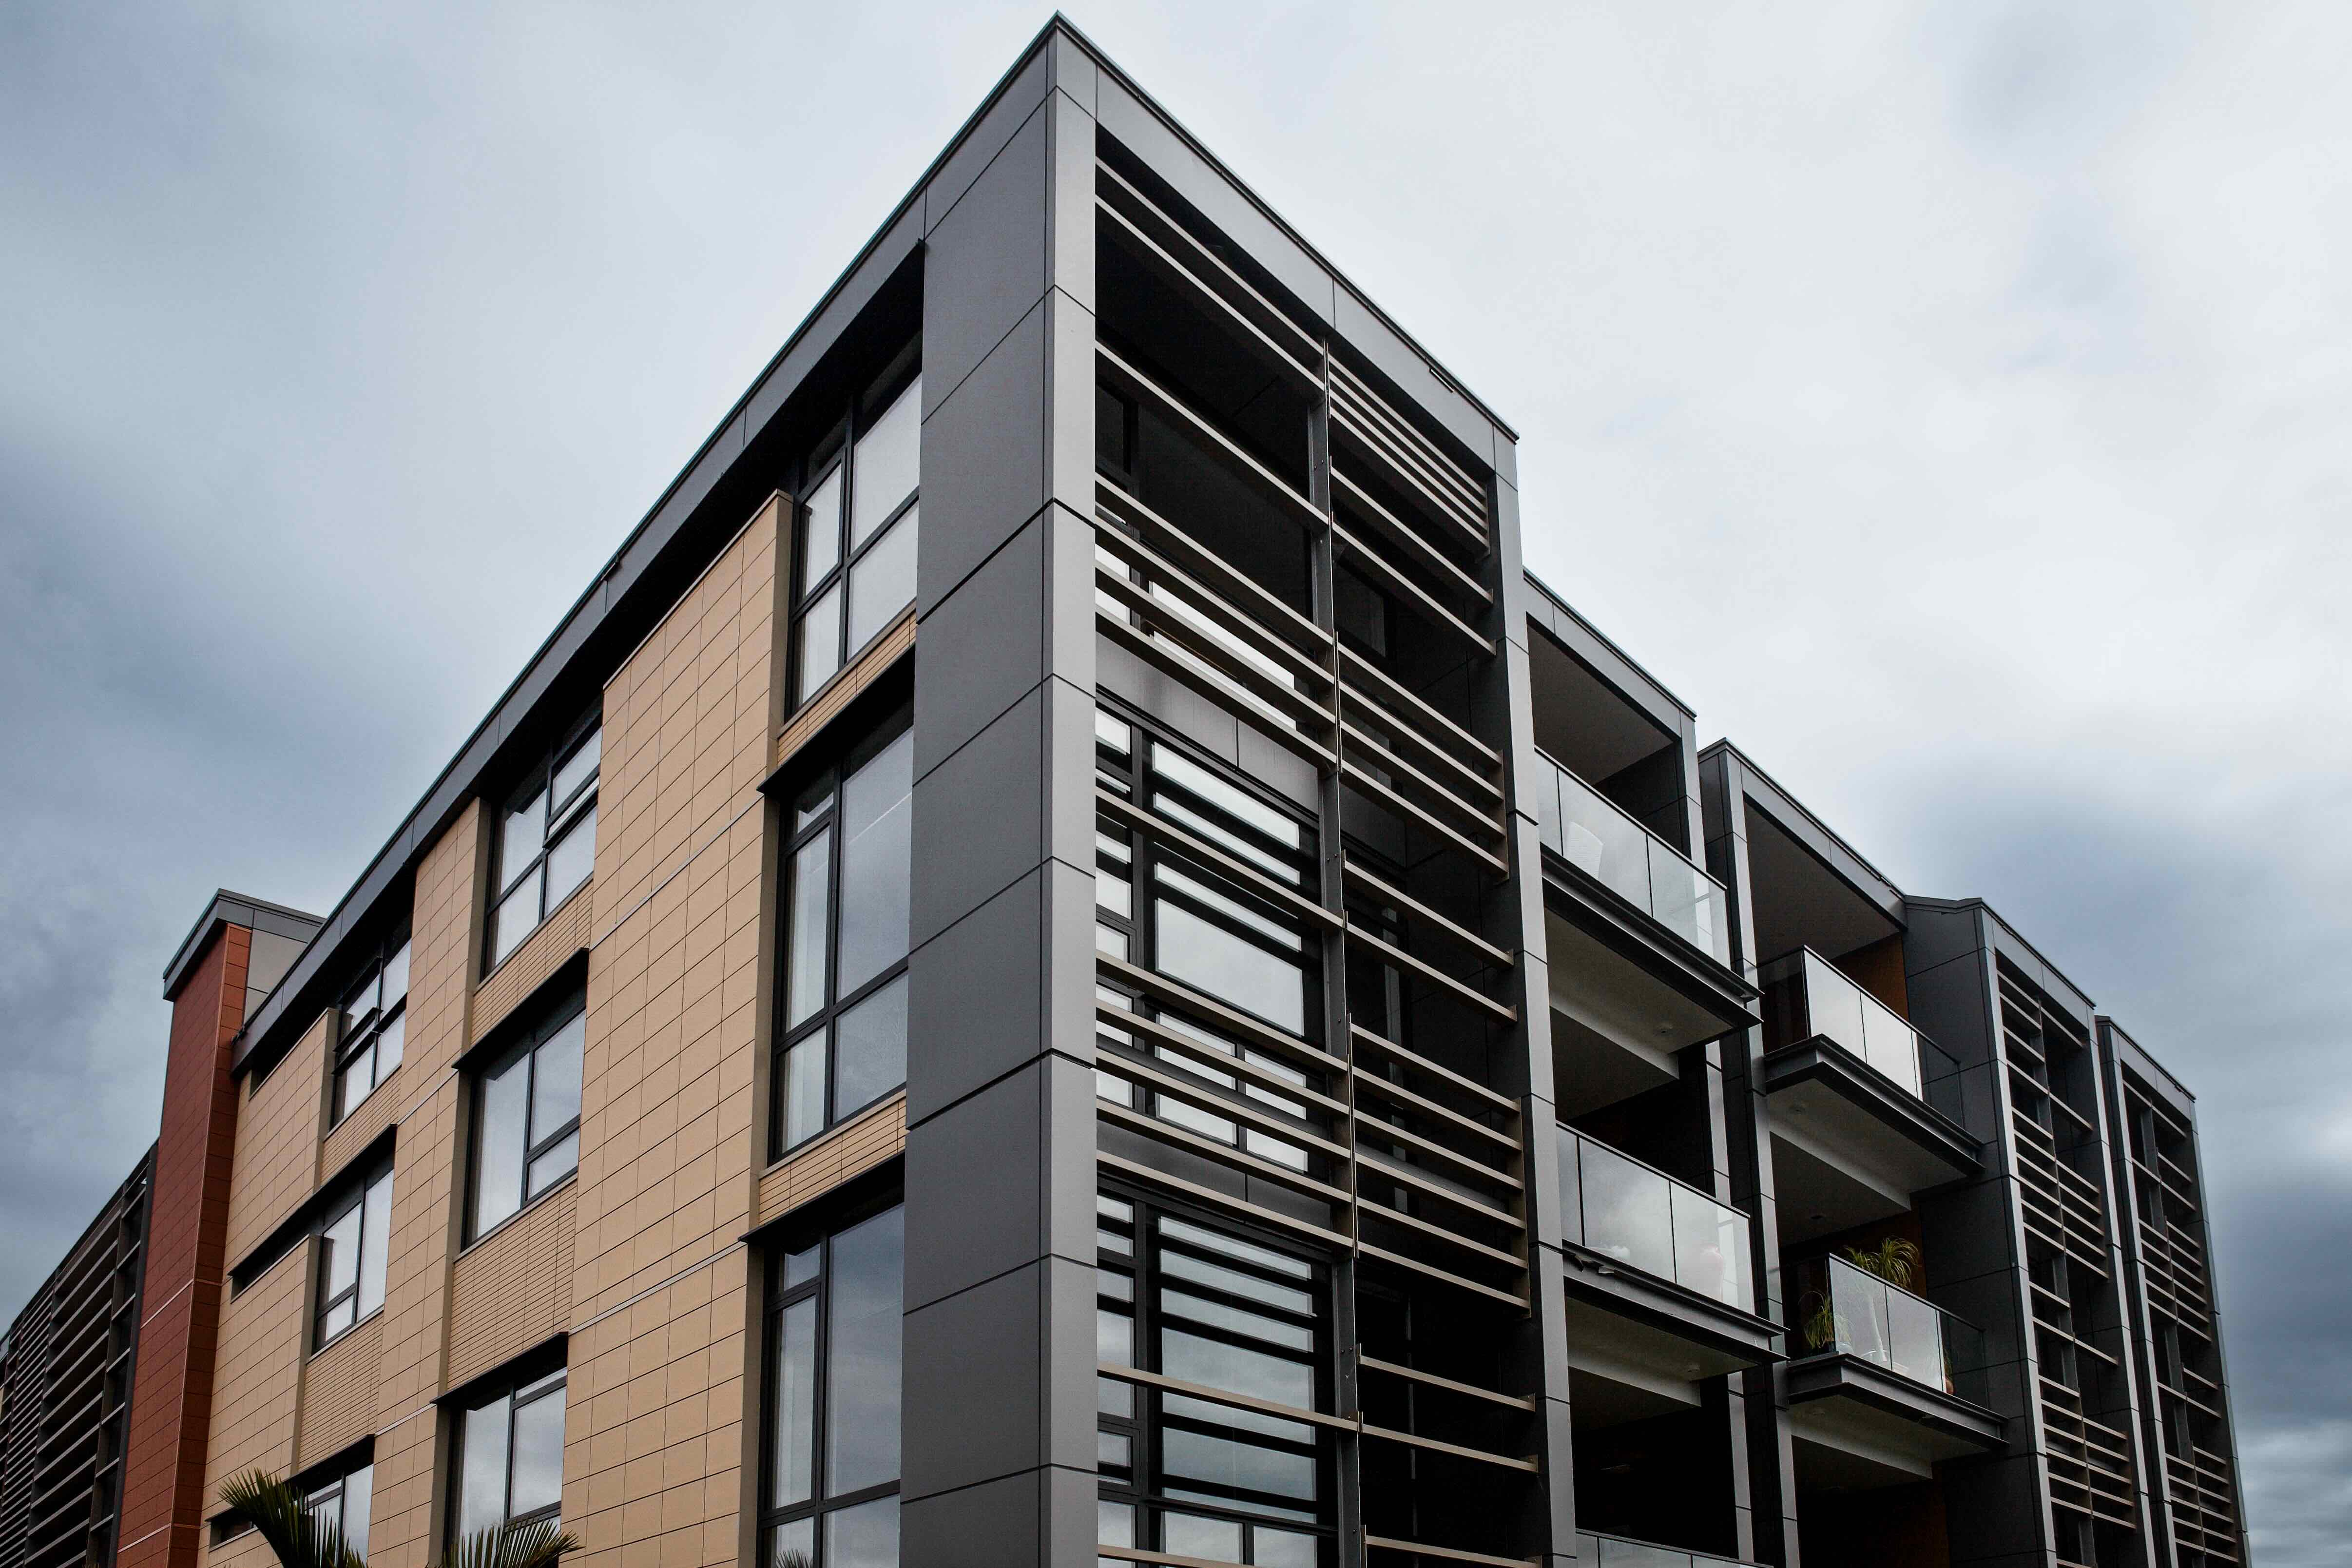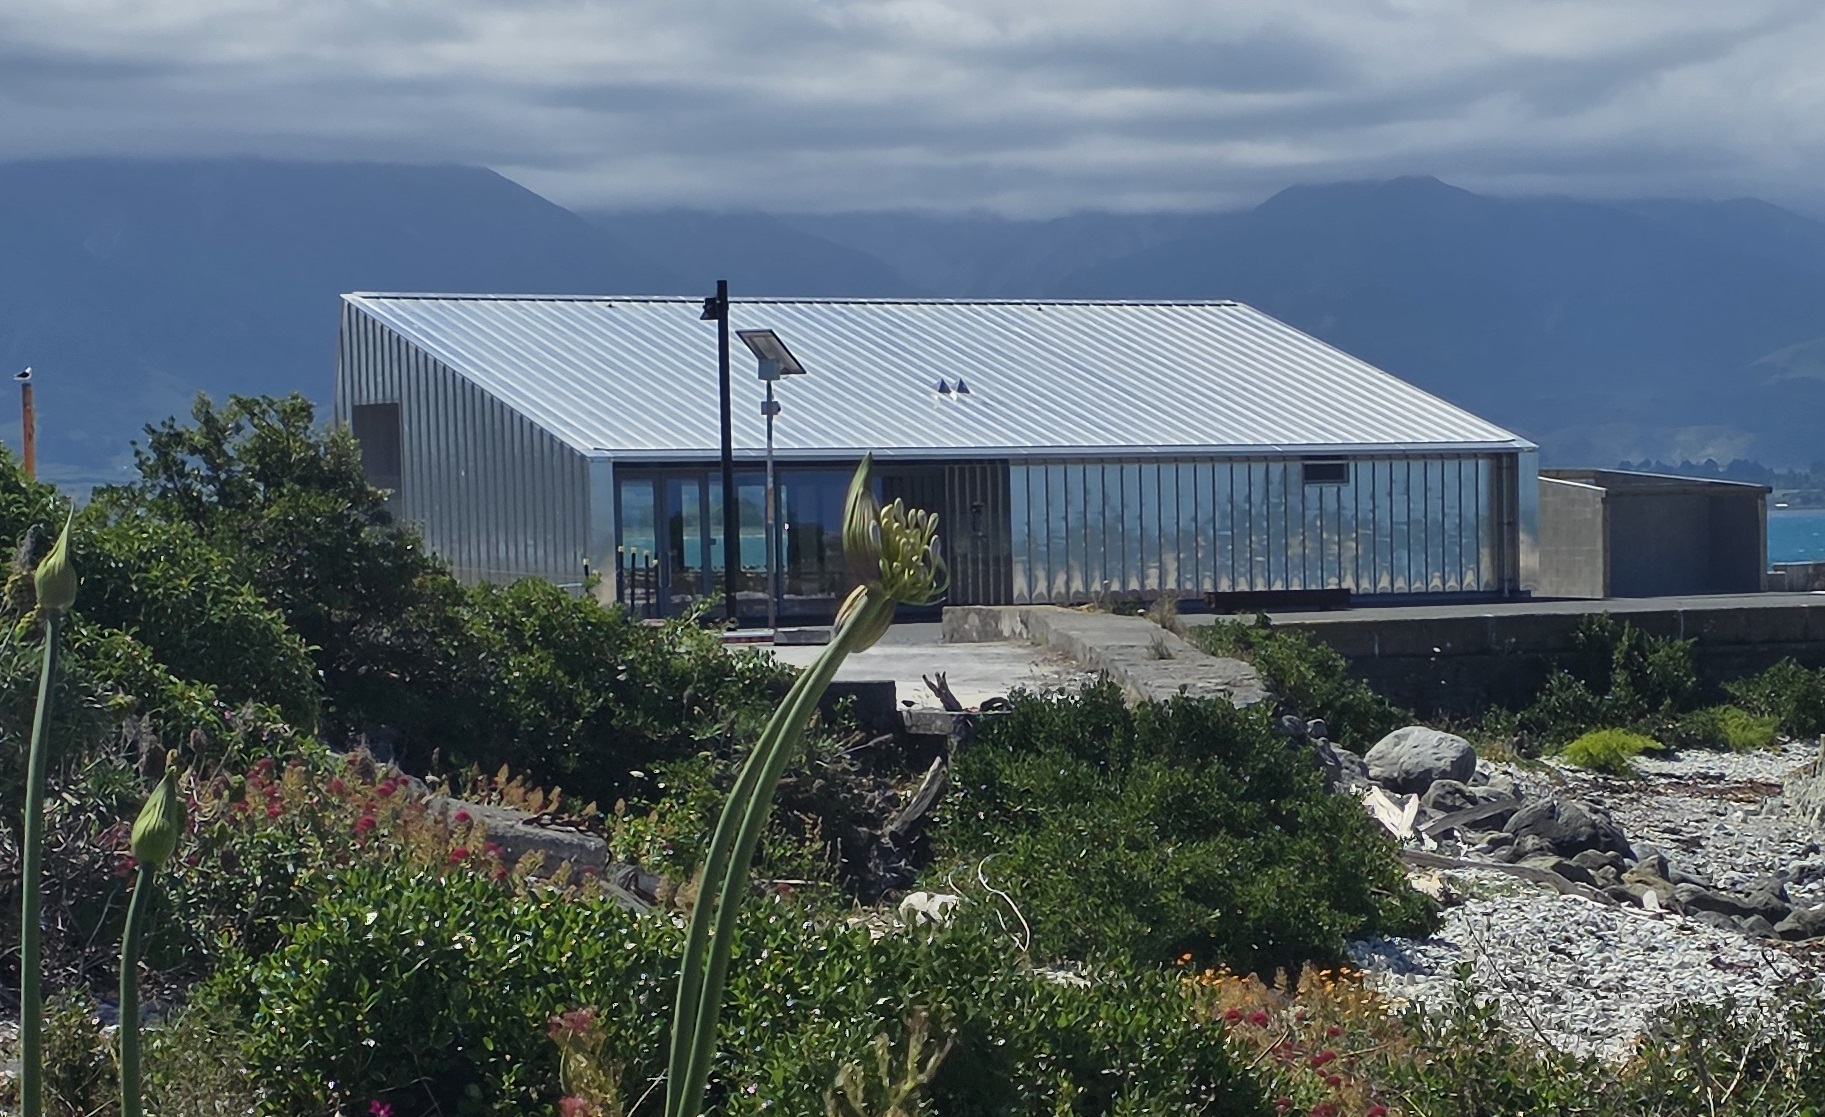
For a flat roof (below 3 degree pitch), a building will almost always need a membrane to keep the water out, and sometimes a membrane can be the right choice for a sloped roof . But what sort of membrane, and what about the other parts of the assembly?
Designing a roof membrane system is about much more than simply choosing a material. You need to think about performance, detailing, installation, and long-term maintenance. Get it right, and your roof is robust, durable, and easy to maintain. Get it wrong, and you’re left with condensation, leaks, or worse.
This article breaks down the essentials, from material options to insulation placement and leak detection, so you can approach roof design with clarity and confidence.
What Roof Membrane Systems Are Out There?
There’s no shortage of options, but they fall into a few broad categories. Each comes with its own strengths, limitations, and best-use cases.
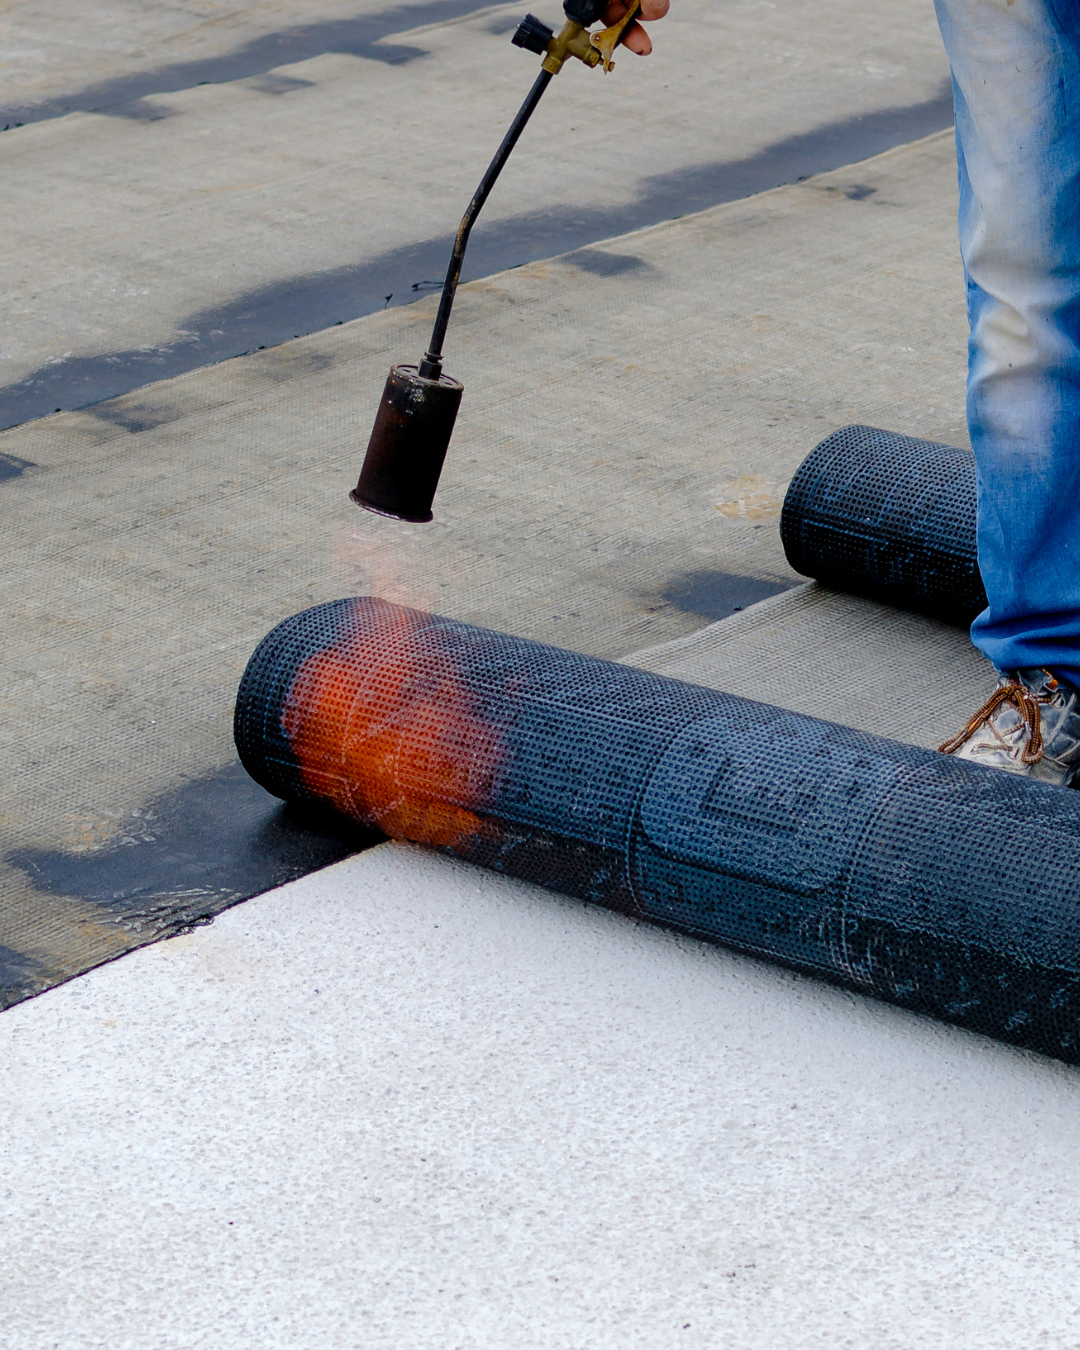
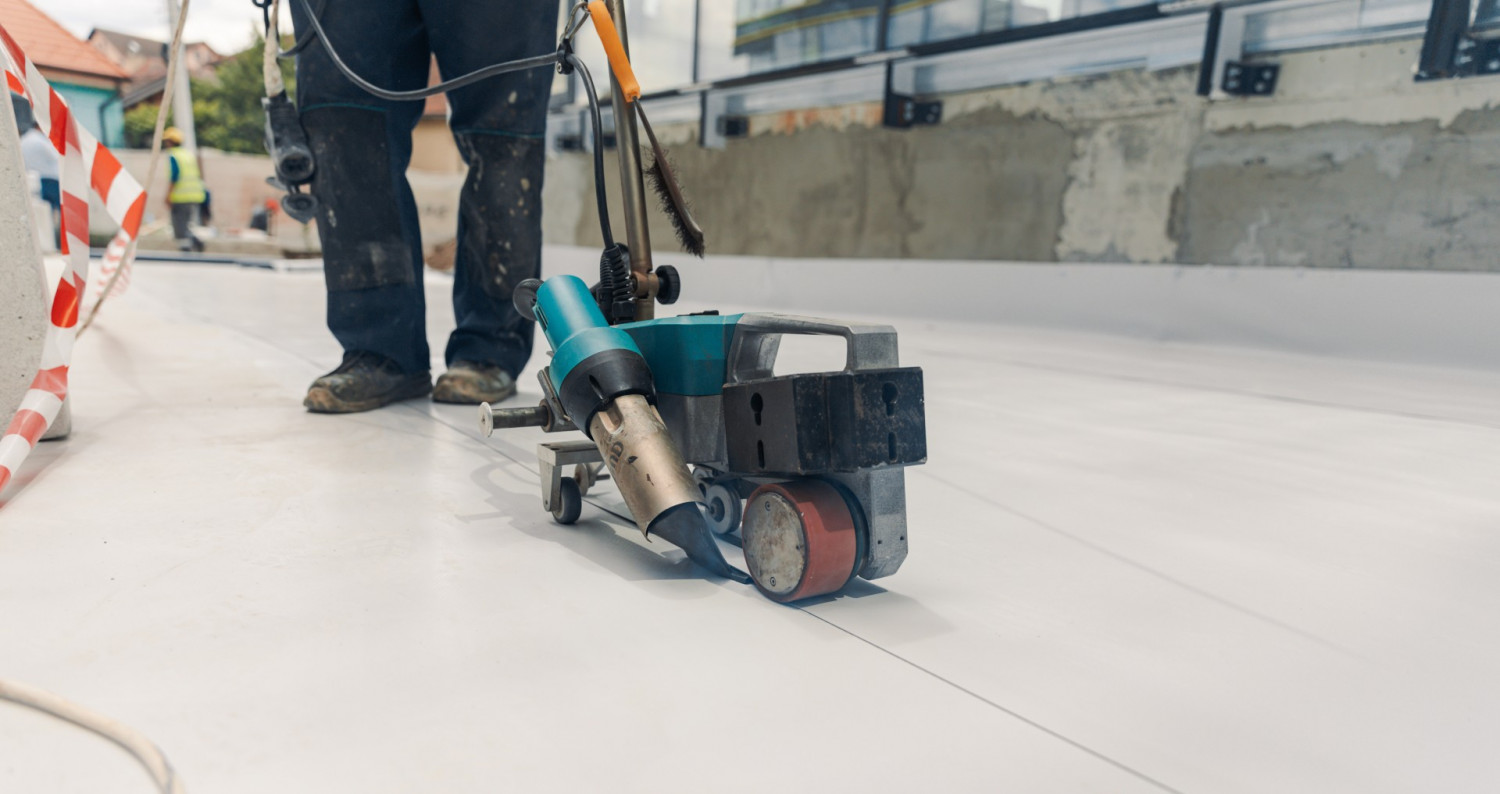
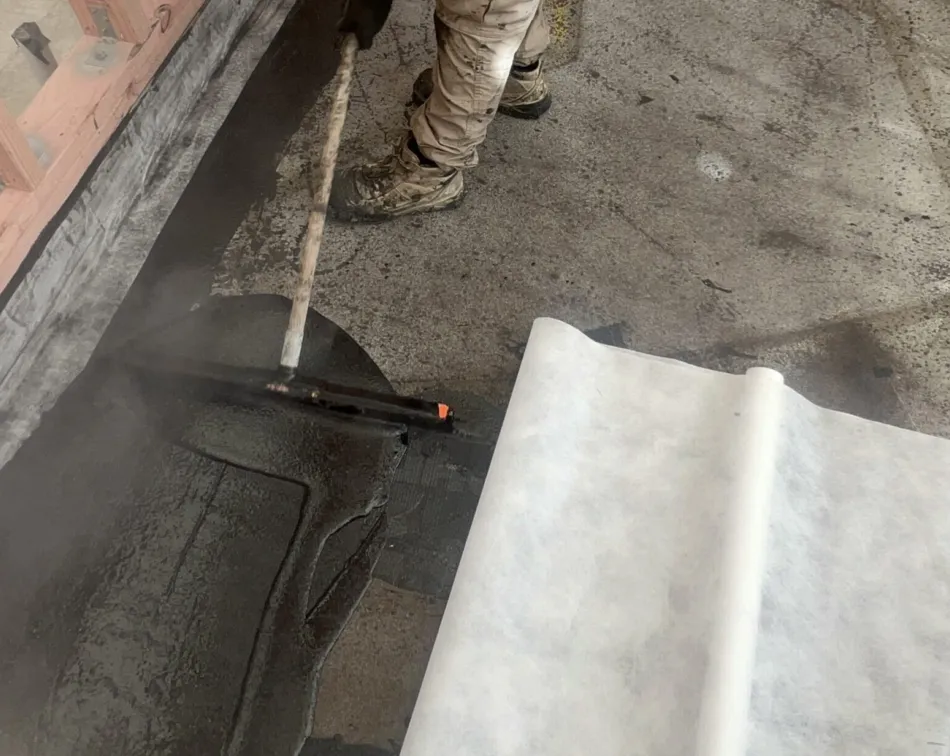
Bitumen-based sheet membranes (SBS, APP)
- Long-established systems with extensive installer experience
- 2 or 3-ply systems which increase redundancy, but also increase thickness
- Made from bitumen mixed with chemicals and reinforced with felt or fibreglass
- Characteristics vary depending on additives
- Can be torched, self-adhered, or mechanically fixed
Synthetic single-plies (TPO, PVC, KEE)
- Supplied in wide rolls (around 2m).
- Heat welded on site - increases speed of install for large areas.
- Made from synthetic plastic-based materials with fibre reinforcement
- Less forgiving around corners and detailing.
- Single ply, which reduces resistance to puncture
- Maintenance can be more difficult over the long term.
- Installed with adhesives

EPDM (ethylene propylene diene monomer rubber)
- A rubberised single-ply sheet.
- Flexible, and installed with laps and adhesives
- Typically used as a pond liner
- Less popular recently for roofing
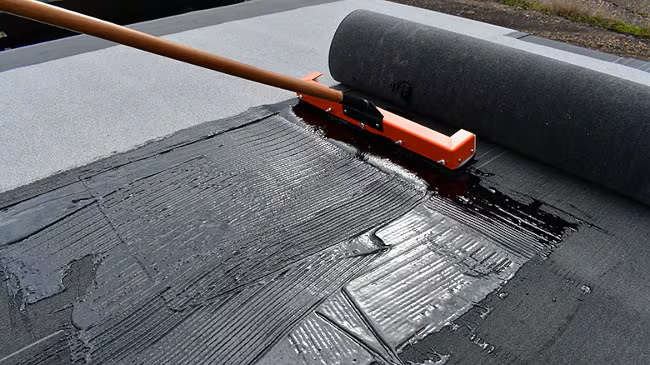
Monolithic Bitumen membranes (e.g. hot rubber, Built-up-roofing, Coal tar pitch)
- Applied as a liquid, forming a seamless monolithic layer.
- Reinforced with fabric, fibreglass, etc.
- Thick membrane, which adds durability and can be self-healing
- Easily repairable with no seams
- Especially effective in protected membrane assemblies.
- Coal tar pitch is no longer used due to health and safety concerns
- 4-ply asphalt built up roofing was historically popular in north america, but is no longer common
- Monolithic Hot rubber is now commonly used, and can be used with zero slope

Mastic asphalt membranes
- Very thick layer (around 20mm)
- Viscous during install, so can be used to provide sloping to a flat substrate
- Highly durable and trafficable, so typically used in areas with vehicles

Liquid-applied membranes (e.g. Polyurethane, Polyurea, PMMA, PUMA)
- Applied as a liquid, forming a seamless monolithic layer.
- Can be rolled, sprayed, or brushed on (depending on the product)
- Lightweight and lightweight
- Must be reinforced to bridge different materials, corner and transitions
- extremely wide range of different products/materials with different watertightness, vapour tightness, and UV durability, so specifying the correct product is key
Which membrane is the best?
There isn’t one easy answer, as each type has its own strengths and weaknesses. The right membrane depends on:
- Size of roof
- Layout, shape, and slope of roof
- Number and type of penetrations
- Traffic requirements
- New roof or replacement
- Structure
- Substrate
- Climate/location: Install temperature and temperature swings, solar, wind
- Local suppliers/installers
- Budget vs:
- Aesthetics
- durability/redundancy
- Maintainability/replaceability
- future planning
- Risk of damage if leaks occur
- Acoustics
To make a fully informed choice, the full scope of the roof and all of the above criteria need to be discussed. There may already be a membrane in mind based on a suggestion or based on a system that was used on a previous project, but sometimes it helps to take a step back to reconsider.
Two-ply modified bitumen membranes are well-known and commonly specified with many installers. For large, simple roofs (e.g. stadium, warehouse), synthetic single ply roofs tend to be popular due to large roll sizes and machines for seam welding. For complex junctions and penetrations, Monolithic and liquid-applied membranes can work best, but the right material properties need to be considered.
When replacing or improving a roof, the options could be guided by things like by material compatibility (matching products to tie into the existing membranes) or by physical limitations like fitting into existing slopes and details (some membranes can allow for zero slope). New roofs could be guided by desired look/colour, or allowance for a green roof.
Insulation: Where Should It Go?
Unless the roof is fully exterior or is a canopy, it will likely need insulation. The position of the insulation relative to the membrane and the structure makes a huge difference to a roof’s durability, thermal performance, and detailing.
There’s one orientation that we don’t tend to recommend, and two that we do.
Cold Roofs (attic or skillion)
- This is the one we don’t tend to recommend unless extra work has been done to check hygrothermal concerns and mitigate risk.
- Insulation at the ceiling line, with the membrane above a cold attic space.
- Or insulation within the structure like within a skillion roof.
- Carries risks of condensation and moisture build-up over time from interior moisture infiltrating through the ceiling
- Could also build up moisture from exterior humidity in the winter coming through exterior vents (evidence of this in Vancouver)
- For a concrete roof, putting insulation on the interior side requires continuous insulation that prevents air and vapour flow (similar to a precast wall. See our other resource about that)
- For a skillion roof there needs to be an interior vapour control membrane with a service cavity inboard of it, an exterior air and water control membrane outboard of the insulation, a vent cavity below the substrate that allows cross-flow, and vents through or around the membrane,
- For an attic roof, there needs to be an interior vapour control membrane, a tall enough attic space to encourage stack flow ventilation, and may only work in certain climactic humidities/temperatures
Warm Roofs
- This one is fairly common for membrane roofs and can be robust if designed and installed properly.
- Insulation above the structure sandwiched between a vapour barrier and the roofing membrane
- Straightforward and well-known in the industry
- Keeps the structure insulated and above the dew point temperature to control condensation risk
- Has redundancy due to incorporating a vapour barrier below the insulation
- This redundancy also makes it hard to tell whether the exterior membrane has a leak, as water could be trapped in the insulation layer rather than showing at the interior.
Protected Membrane Roofs (PMR)
- This one is the most robust and durable (if designed and installed properly), but is less common in the industry.
- Membrane applied directly to the structure, with insulation above and ballast to hold down the insulation.
- Keeps the membrane at a much more stable temperature year-round in addition to the substrate and structure as with a warm roof.
- Insulation must be water resistant due to being in the wet zone above the membrane, and must be slightly overspecified (higher R-value) to balance against thermal loss from rainwater flow.
- Reduces UV, traffic, and thermal stress on the roofing membrane, since the insulation is protecting it, which extends service life.
Each insulation strategy has its pros and cons, and may work better or worse for different layouts/structural designs.
Details and Accessories
Choosing the right membrane and insulation is important, and equally so is the detailing of transitions, terminations, penetrations, and other accessories.
Transitions
- Different membranes are easier or harder to work with in tight corners or limited clearances. Supplier’s typical details may not work in certain junctions and around other components.
- When possible, just continue the same membrane and assembly over curbs, height changes, and small walls.
- When transitioning to a different membrane, there would likely need to be a transition material between the two for material compatibility or for warranty delineation.
Terminations
- Most suppliers have example details for many situations, but there are usually project-specific details that do not fit within the examples.
- For curbs or parapets, the membrane should continue fully over the top to avoid upward terminations. Cap flashings are used for protection, but are not expected to be waterproof
- For areas terminating below cladding, the membrane should ideally be designed to be eventually replaced without needing to remove the cladding, and must be designed to tie into the wall membrane or tapes behind the cladding
Penetrations
- Care must be taken to ensure water will drain around penetrations. Curbs for rectangular penetrations may need sloped crickets if the top edge is aligned perpendicular to the slope.
- Pipe or conduit penetrations should ideally go through a prefabricated penetration such as a goose neck or dog box with the pipes or conduits exiting through a downward-facing opening.
- Some membranes are compatible with liquid-filled “pitch pocket”-type penetrations that can work with certain components
- PMMA- or PUMA-based liquid applied flashings can work very well with complicated details or tight clearances
Other accessories
- Seismic joints are common, but can be more complicated to install than they look in drawings. The continuity of the airtightness, watertightness, vapour control, and drainage layers is essential
- Drip flashings can help reduce staining and organic growth
- Flashings (cap, saddle, etc.) can help with protection and drainage, but the roofing membrane should be continuous behind the flashing.
Maintenance and Leak Detection
All membranes eventually leak unless they’re maintained, and many times those leaks aren’t noticed and repaired until they’re a big problem. So the key to durability and longevity after design and installation is maintenance and leak detection.
Maintenance
- Roofs should be accessed and checked on regularly. Annually at a minimum.
- This annual maintenance would include a look at the general condition, clearing debris out of gutters and drains, checking penetrations and terminations for any damage, and noting any squishy spots that could be waterlogged.
- If this light maintenance is done regularly, it will help the roof to meet its expected lifespan, and would allow any noted damaged to be repaired before affecting structure
- If damage or wet spots are suspected, further investigation could be completed.
Infrared scanning
- This involves taking an infrared photo of a roof from above from the exterior at a time when there would be temperature differences between interior and exterior
- At sunrise or sunset, wet areas of insulation or structure retain heat longer than dry ones, revealing presence of water and potential leaks through temperature differences.
- Especially useful on warm roofs, as it can show which areas of a roof are waterlogged and need replacement
- Does not outline leak pathways specifically, but can provide evidence for tracing leaks
Integrity scanning (e.g. EFVM)
- This involves using electrical fields to detect leaks through a membrane
- A technician would manually scan the roof with a wand/brush to search for penetrations in the membrane
- Uses low- or high-voltage testing to find breaches
- May need conductive surfaces within the assembly to have been installed to be effective
- Can be done during construction to show completed install or to verify the membrane wasn’t damaged by other trades
- Can be done regularly as part of maintenance cycles or to investigate reported leaks.
Embedded sensors
- Installed inside the roof assembly to detect water
- Can be a passive system that requires a technician to check for leaks
- Can be tied to an active system to trigger alarms or dashboards.
- Can be installed below green roofs or in other less accessible areas that would make other types of inspections difficult
- Provides rapid feedback when leaks occur.
A proactive leak detection plan means problems are caught early - before they cause structural or interior damage. For some sensitive projects, sensors and regular checks are essential.
We’ve previously worked with suppliers such as SMT Research, ILD, Detec, and Shelby Wright Test Labs, and can confidently recommend them when it comes to leak detection and ongoing maintenance.
This isn’t a sponsored plug, just a genuine shoutout to industry partners we trust and have had great experiences with. Because when it comes to keeping buildings dry and durable, it pays to have the right people on your team.
Key Takeaways
- Know your materials: Bitumen, single-ply, EPDM, or liquid - all have different strengths.
- Think about insulation placement: Cold, warm, or protected - all carry their own risks and benefits.
- Use the right details: Different membranes work better or worse with certain details - it’s all about choosing the right balance.
- Plan for leaks: Integrity testing, sensors, and scanning make maintenance easier and extend roof life.
A well-designed roof membrane system balances material choice, insulation strategy, and proactive monitoring. By asking the right questions early, you can simplify construction, reduce long-term risks, and deliver a roof that lasts.