Why Do Basements Leak (and Why Should You Care)?
Why would anyone intentionally design a wet basement? And conversely, why would we waterproof a basement if it’s just going to leak anyway?
These are questions we've been asked more than once. Whether it’s a carpark, a lab, or a restaurant built partially below ground, moisture isn't just an inconvenience - it’s a structural and operational liability. It may seem like it’s impossible to keep water out of a basement in NZ, but there’s always a reason for leaks, and it’s somewhere within a triangular venn diagram of design, materials, and/or quality assurance.
You typically only get one chance to install waterproofing, and it’s right at the beginning of the construction when you’re building the foundations. To get it done right, below-grade waterproofing (or tanking) demands a performance-led design and proper execution on site.
That’s why we support projects by designing effective waterproofing systems and monitoring construction to ensure it’s built to spec. You really only get one shot at tanking – done right, it prevents costly problems down the line.
So… is waterproofing essential? Or overkill? Let’s explore.
The 4 Grades of Below-Grade Waterproofing explained
Below-grade spaces are categorised into four grades based on the dryness expectations of the interior space, not the materials used. There are no New Zealand standards for below grade waterproofing, so these definitions are based on British Standard BS 8102.
(Disclaimer: In this article references are made to “Grade 1–4” of waterproofing protection. The correct terminology from BS 8102:2022 uses “Grades 1a, 1b, 2 & 3.” The advice given remains consistent, but please note this difference in labelling to avoid confusion.)
Grade 1 – Wet Is Fine
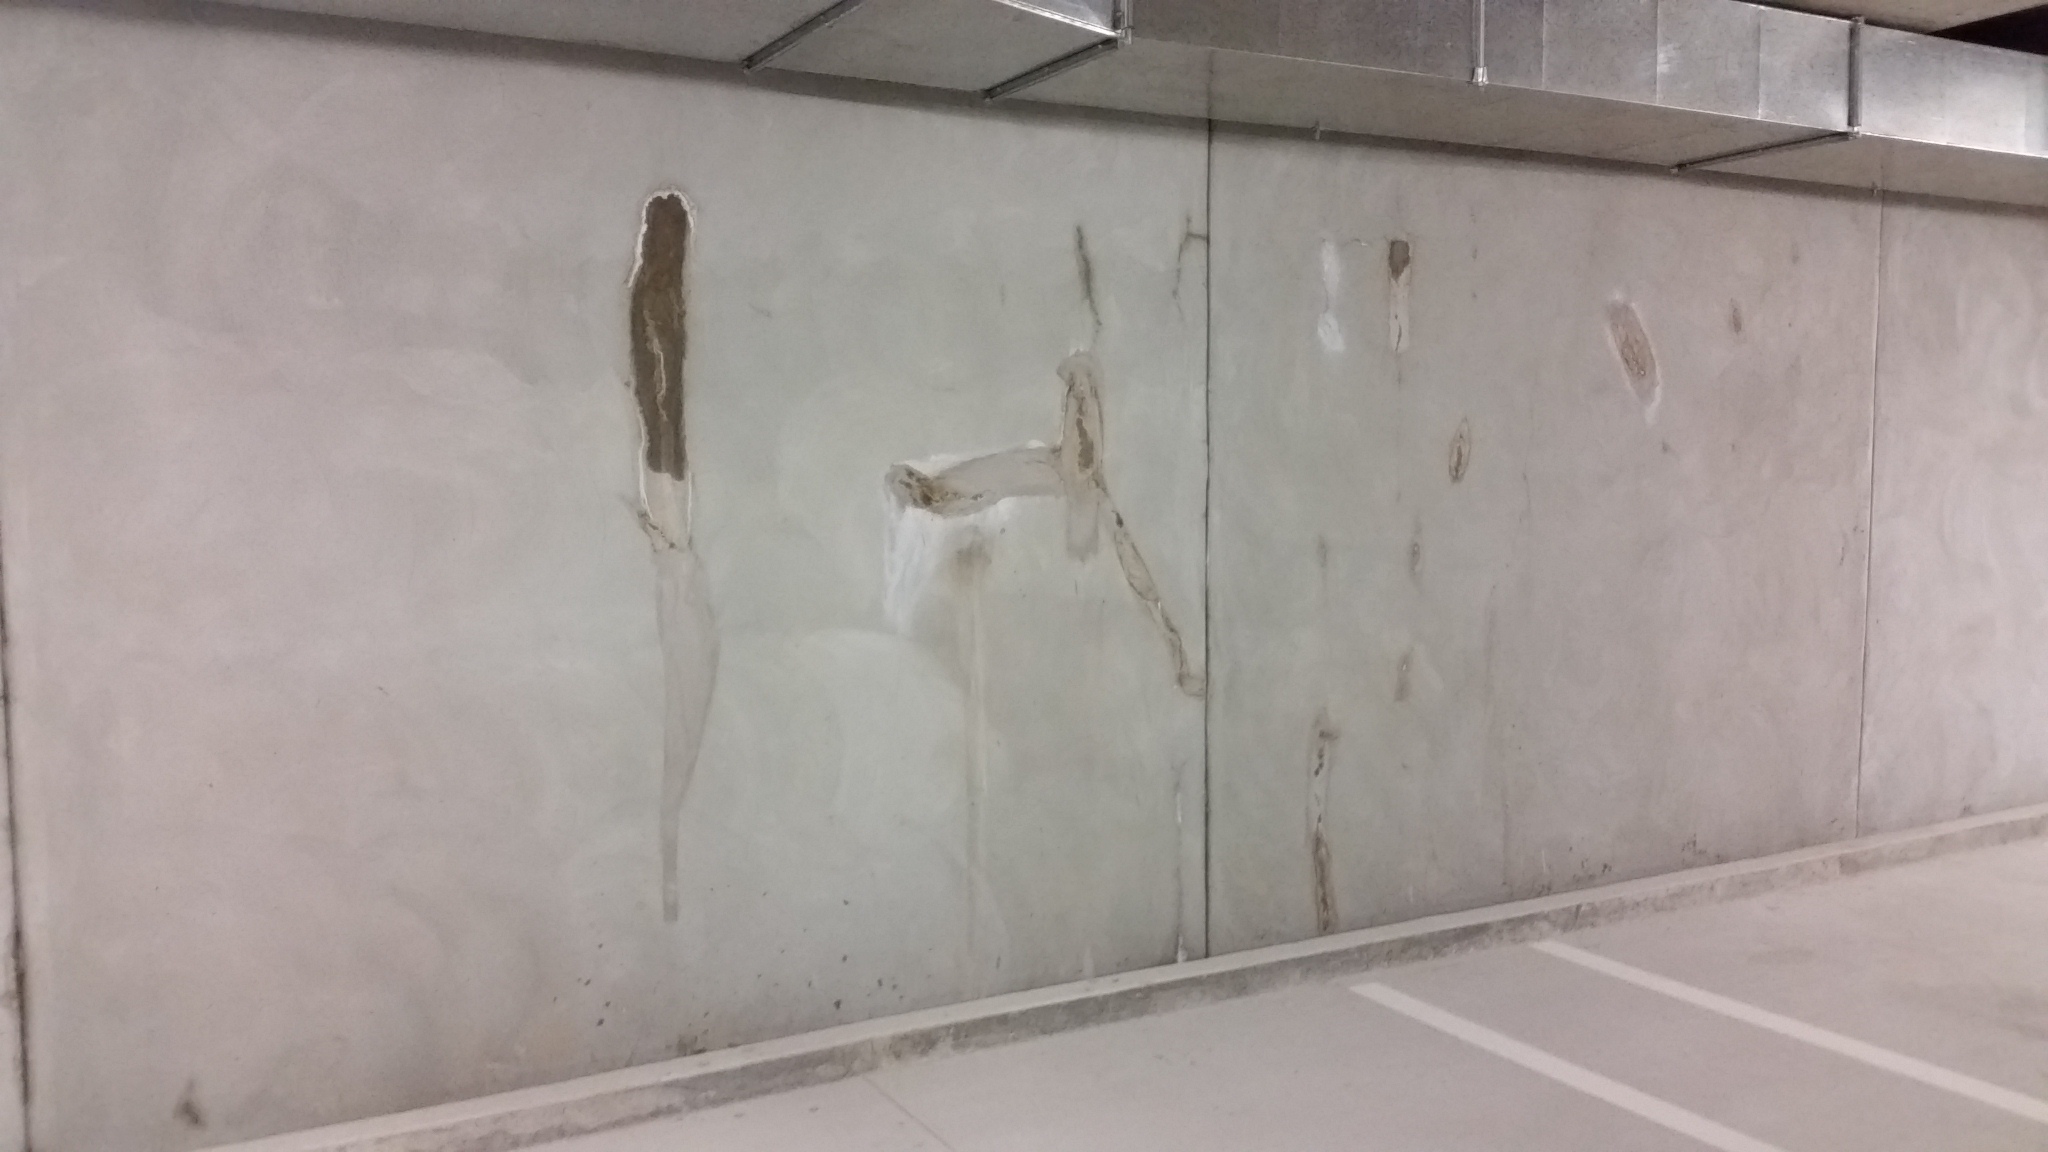
No waterproofing required, leaks are expected and accepted. This applies to undercrofts, utility voids, or other non-habitable, non-accessible zones where water ingress doesn’t impact performance. In theory, it’s fine. In reality? We’ve all seen the white, brown, and green stains on basement walls, seen the spoon/channel drains beside those walls, smelled the dampness, and some of us delight in looking at the fun metal gutters and plastic tarps that have been number 8 wired in place to catch the drips. It still raises eyebrows.

Grade 2 – Damp But Functional
Stops flowing water, but moisture and staining may still appear. Suitable for unconditioned carparks or services areas where appearance or comfort isn't critical.
Grade 3 – Mostly Dry
No liquid water ingress, though vapour may still make the space humid. Ideal for storage areas or carparks with higher expectations.

Grade 4 – Fully Dry & Conditioned
Waterproof and vapour-proof. Suitable for occupied interiors like offices, labs or restaurants. Requires ventilation, temperature control and no room for error.
When Waterproofing Isn't Optional
We’ve seen projects suffer from the wrong waterproofing grade.
Case in point: a sloped-site building with a restaurant partially underground. It was originally specified to Grade 2. Once we understood it was a fully occupied hospitality venue, we flagged the mismatch (early), because the alternative was costly: closed doors, ruined interiors, and lost revenue.
Unless the restaurant was meant to look and smell like a cave with exposed rock walls, natural moss/slime, and water features (this could technically be a legitimate design decision), the future tenants and occupants would probably be pretty disappointed with the space’s performance. Disappointment comes from the difference between expectations and reality, and if someone was expecting a dry, clean restaurant with interior gypsum-board finishes, they would feel very let down when the gypsum board started to bubble, warp, and grow mould.
Membranes: More Than Just a Layer
Choosing the right membrane isn’t about brand - it’s about performance, context, and risk. Some examples:
- Bentonite: Affordable, self-healing clay-based membrane. Great for Grade 2–3 (e.g. carparks), but generally not vapour-tight and typically not suitable in salty or contaminated ground unless multiple layers or upgraded hybrid versions are used that include extra layers of protection.
- Bitumen-based membranes: Robust but require skill to install especially around complex corners and details. More common in North America, but are typically considered damp proof membranes in NZ.
- Concrete additives and waterstops: These are very effective as extra redundancy and for complicated localised junctions, but they typically rely on overdesigning the concrete to prevent cracking as they can only bridge very narrow cracks. This works well for things like small services vaults, but for full buildings they are impossible to inspect on site and can therefore be risky if used without a membrane as well.
- HDPE or PVC welded systems: Best-in-class for Grade 4 spaces—precise, reliable, and usually backed by third-party QA and warranty. There are different options from suppliers, which can have either taped or welded seams, and some even have synthetic bentonite layers within to self-heal any pinholes.
Sometimes, we push beyond Grade 4 with built-in redundancy by using multiple layers and integrating movement joints and transitions between different suppliers. We jokingly call this Grade 5. It's not a real designation, but it represents our commitment to fail-safe systems when failure simply isn't an option.
Common Mistakes That Can Cost You
Membranes damaged/torn by reinforcement
Steel reinforcement density within concrete can be very high in some beams and foundations, and the trades installing the waterproofing are never the same as the ones installing the steel. If the steel installers aren’t careful, ends of steel rods, chairs, and even just the weight of the rebar (reO) itself can damage membranes before the concrete pour.
There should be a plan made in advance on how to install the steel carefully, a plan to inspect the membranes after the steel goes in, and a plan for how to fix the membrane if it does get damaged.
Shotcrete + membrane = risk
It’s possible to “sandwich” a membrane between layers of shotcrete, but it requires a careful eye and a very skilled hand to spray the shotcrete around the steel reinforcement cages. Poor workmanship and lack of quality assurance inspections can create voids and pathways in the sprayed concrete, and those pathways allow for leaks.
Mockups, install plans, careful QA and a plan/budget to replace any questionable shotcrete are ESSENTIAL.
Exposed membranes/waterstops left out too long
Bentonite and synthetic waterstops that activate too early (from rain or puddles) and get trampled by workers on site won’t protect the structure once the concrete goes in. They should be installed at the right time with the weather in mind, dried out asap, and inspected and repaired/replaced to make sure they’re in good shape before the concrete pour.
Ignoring detailing around piles and beams
Getting waterproofing through pile caps or around rebar isn’t just tricky, it’s often where things go wrong. This needs to be discussed early in design with the supplier, discussed again once the installers are hired, and then meticulously inspected during construction.
Remedial Work: The Last Resort (and It’s Not Fun)
If a basement leaks after construction, your options are limited and expensive:
- Epoxy injection: Spot-treat cracks, over and over. This means drilling holes through the concrete from the inside and spraying epoxy behind the concrete to try to seal the cracks. Once you seal one, the water moves on to the next crack and it could take years before they all get treated. Laborious, disruptive, and rarely covered by warranty after the first few injections.
- Interior collection systems: Dimple boards and channel drains behind interior walls. Useful, but reduce interior space and require regular inspections and maintenance. Not only that, you’re also accepting water into your structure, which starts the clock on deterioration of the concrete and corrosion of the steel inside.
- Drip trays: We’ve seen water diverted from ceilings via bespoke guttering over Porsche and Ferraris. It works, but it’s a non-durable and ugly last resort. It’s no solution.
Water Table & Site Conditions: What’s Below Matters Most
A basement is only as dry as the ground around it, and there are very few places where the ground is fully dry. We typically recommend tanking below the slab anytime the water table is within 2m of the bottom of the slab at its highest annual level. But even with good separation from the groundwater, rainwater and percolation still pose risks to the walls, so they should always be protected.
And if you're building into the water table? You're essentially building a boat. You’ll need more than waterproofing - you’ll need dewatering systems, pressure-resistant design, and a resilient slab strategy to resist that uplift pressure.
And if you’re thinking you can just add in drain coils around and below the slab or sump pumps, you need to think of where that water is draining to and how often those pumps will need (and how many redundant pumps you need) to run to keep your basement dry. If the drains are submerged in the water table and below the storm water outlets, they can’t be expected to make a difference unless they’re being pumped out full-time.
So… Is Waterproofing Overkill?
If you're building a storage room in a desert, maybe. But for anything below ground in New Zealand's wet, variable conditions? It’s essential. Waterproofing isn’t about playing it safe, it’s about designing for reality.
It’s (relatively) cheap insurance that you pay for one time, because once the slab is poured and the membrane is buried, your shot at doing it right is gone.
Ready to Get It Right?
We design below-grade waterproofing systems, peer review existing designs, and monitor construction to ensure it’s built as intended. Whether you're starting from scratch or need a second set of eyes, we help architects, project managers, and developers navigate waterproofing with clarity, confidence, and precision.
Let’s talk waterproofing. Contact us at info@obsf.co or get in touch with the team directly.