When most people think about window design, they probably just imagine a see-through part of the wall. Or if they’re trying to describe it, maybe they speak about the basics: a frame, some glass, and potentially hinges and a latch.
But for architects, designers, and developers working toward high-performance outcomes, the discussion is a bit more complex. Getting the details wrong can lead to costly rework, comfort complaints, and poor energy outcomes.
Window design directly shapes how a building performs and how its occupants feel. From keeping homes cool in the summer and warm and dry in the winter to reducing long-term maintenance and construction costs, smart window design can be a game-changer. Whether you're after cost efficiency, comfort, aesthetics, or a mix of all of them, getting the windows right can remove risk, reduce cost, and add value.
So, what does that actually involve? In this guide, we’ll explore the core components of modern window design what they do, what to watch for, and how to use your knowledge to solve real-world challenges on your next project.
Start with the Frame: Material Selection in Window Design
Choosing the right window frame material isn’t just about looks—although yes, we know that aesthetics are important. The performance of the frame makes a huge difference for comfort, durability, and energy efficiency. The wrong frame can be a large thermal bridge, invite condensation, look wrong, or wear out prematurely.
Here's a quick comparison of common options in New Zealand window design:
Aluminium
Common on existing buildings in NZ, but highly conductive (aluminium is the 4th best material at thermal transfer, 10x more conductive than steel).
- The Reality: This means poor thermal performance and daily condensation unless thermally broken.
- Typical Detail: These frames are often installed over WGANZ bars within the cladding cavity.
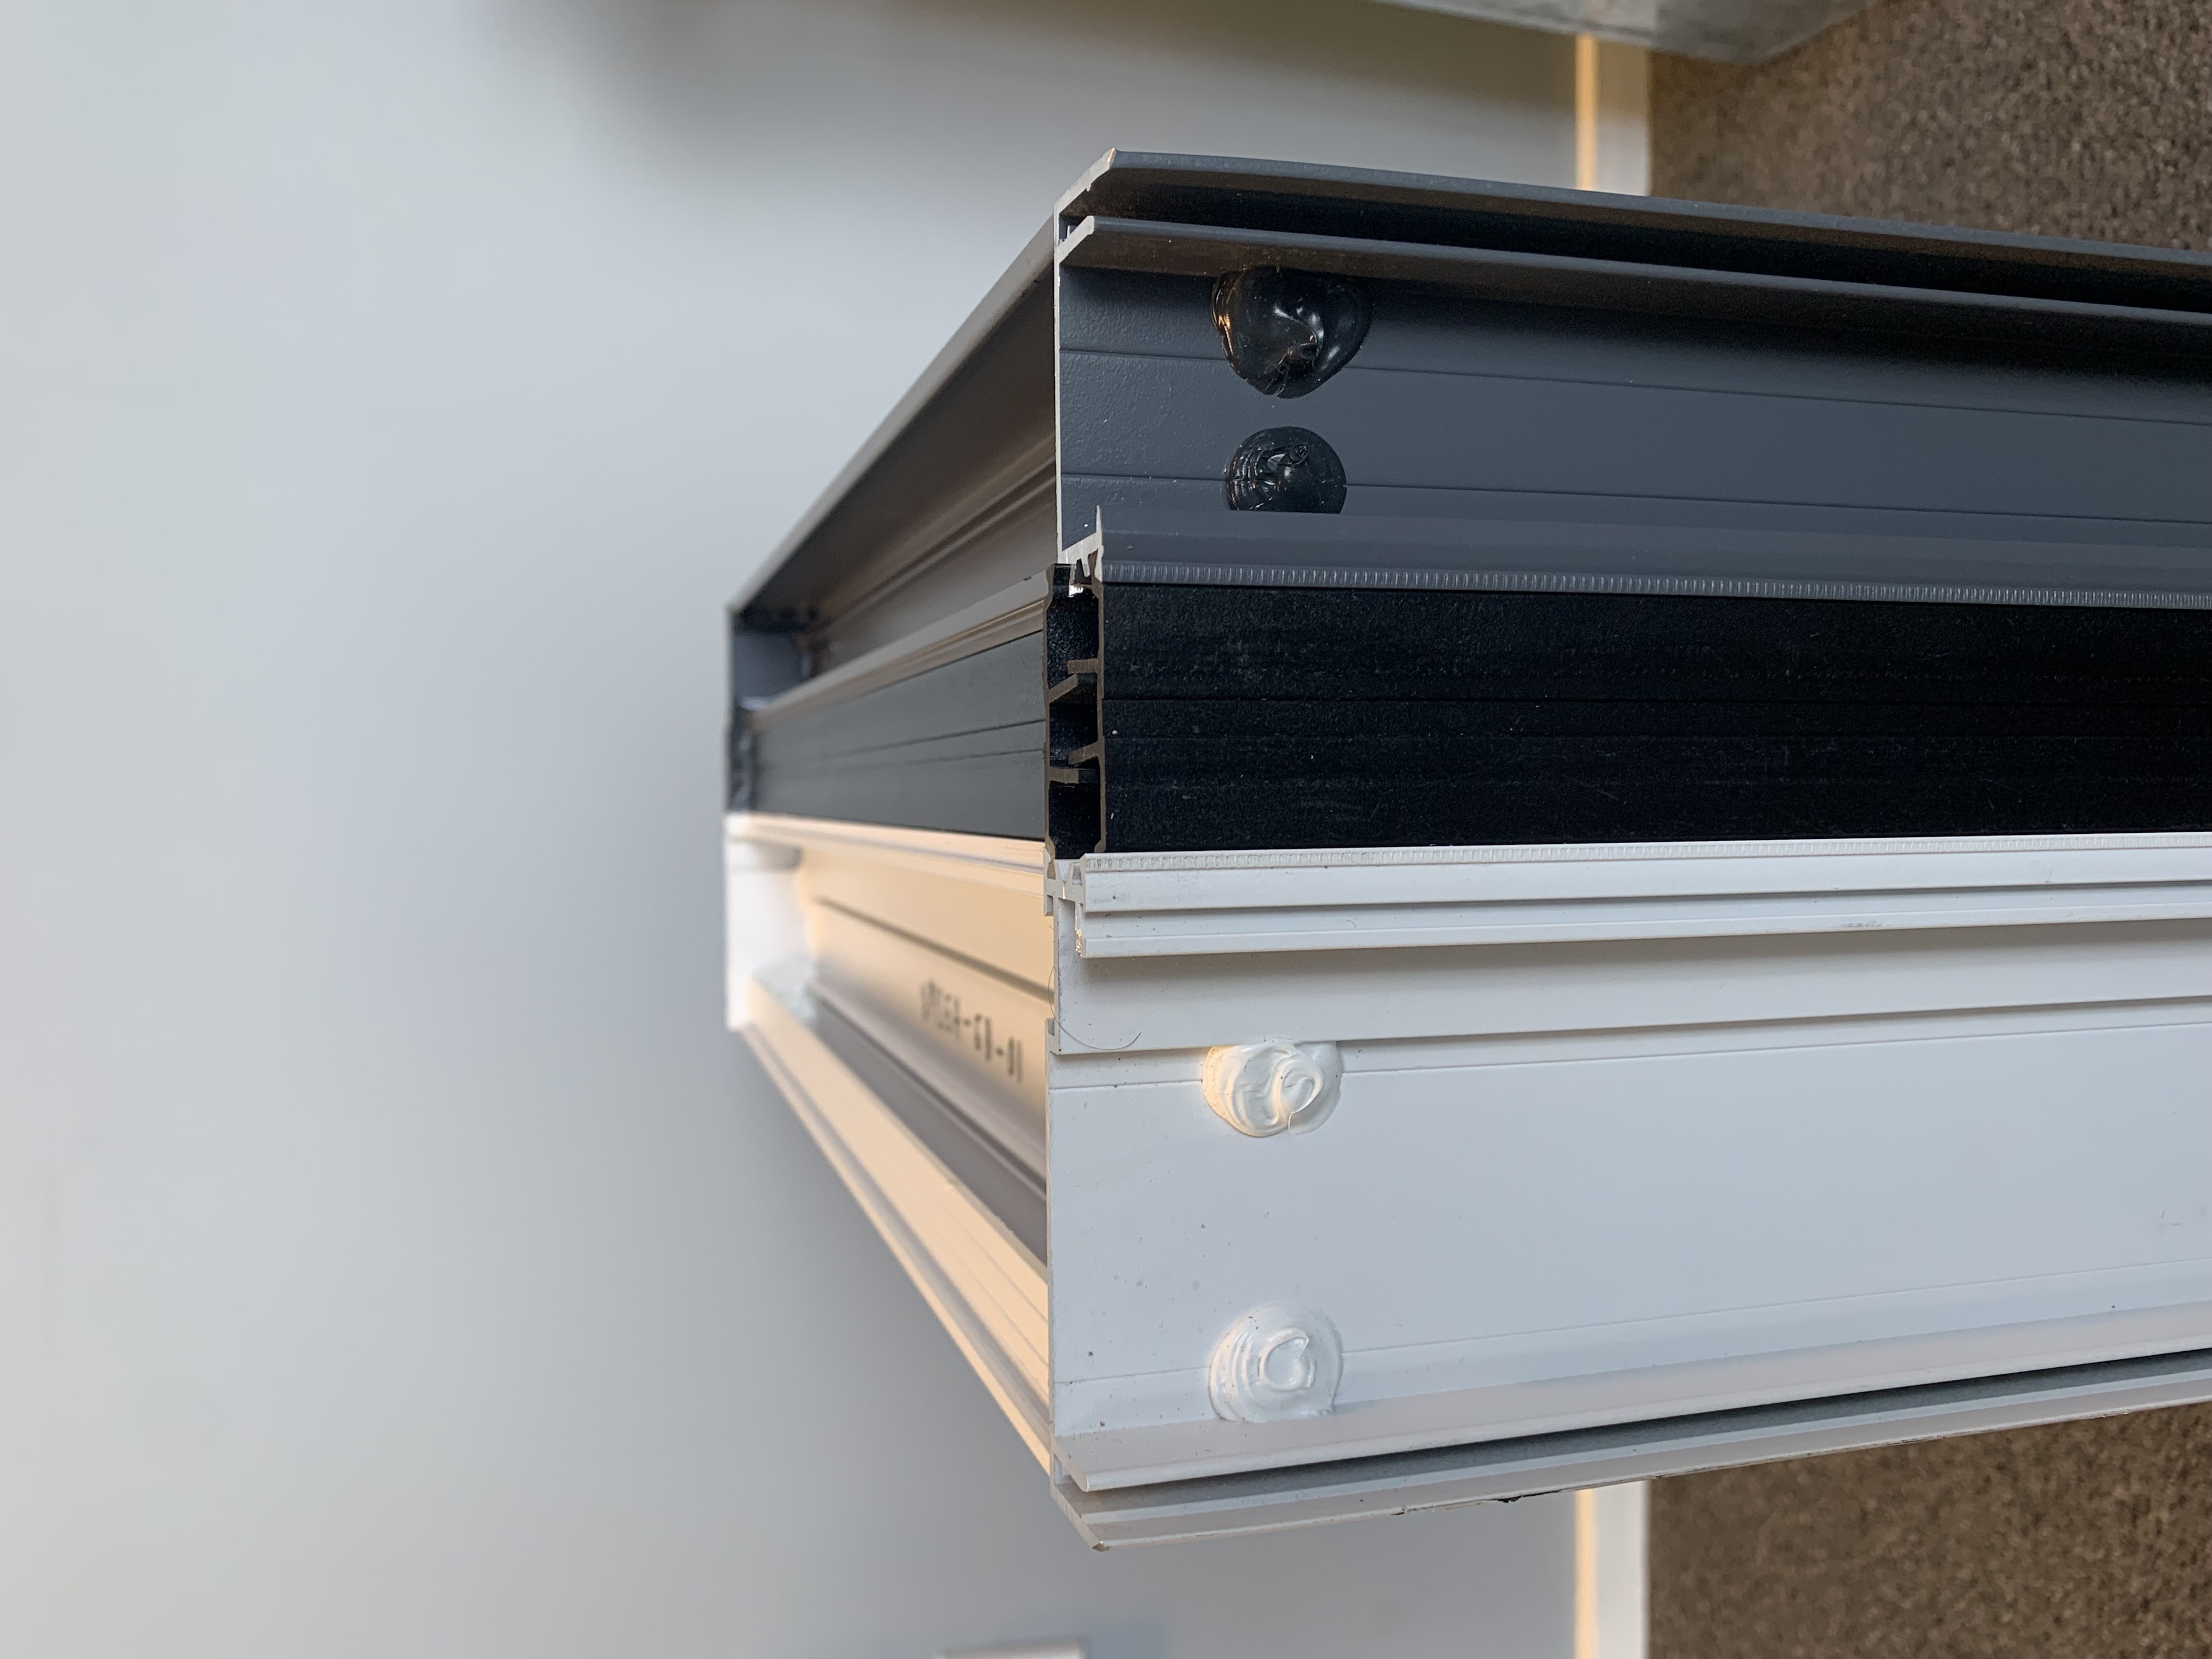
Thermally Broken Aluminium
A step up and becoming more common, with a plastic insulator splitting the frame to reduce heat transfer.
Performance Note: Not all thermal breaks are made equal. Different suites have different ratios of aluminium to the inside and outside of the thermal break. While much better than solid aluminium, actual performance depends heavily on the specific frame construction.
uPVC (Unplasticised Polyvinyl Chloride)
Offers excellent thermal performance and airtightness by using uPVC frames reinforced with steel tubes and sealed with gaskets and welded corners.
- Durability: Modern uPVC is unplasticised and mixed with titanium dioxide to be safe and durable in very high UV locations like NZ. It can be recycled at the end of life.
- Market Context: Still underused in NZ, despite being the standard low-cost choice in Europe and North America.
Timber
Beautiful and naturally insulating, but can be more costly and less durable unless clad with aluminium or coated/painted regularly.
Steel/Bronze
Great for slim profiles and heritage looks, but expensive. They are often thermally challenging unless specified with breaks. Typically, these are bespoke items for specific aesthetic purposes and require specific detailing.
Our Recommendations for Most Projects:
- uPVC: Tends to be the best balance of cost, performance, and durability due to better materials, welded corners, and gasketed hardware.
- Thermally Broken Aluminium: Tends to be the best balance of performance, look, and durability, especially if using imported narrow profiles.
- Timber: Tends to be the best balance of performance and look, but will generally require more upkeep over their lifetime.
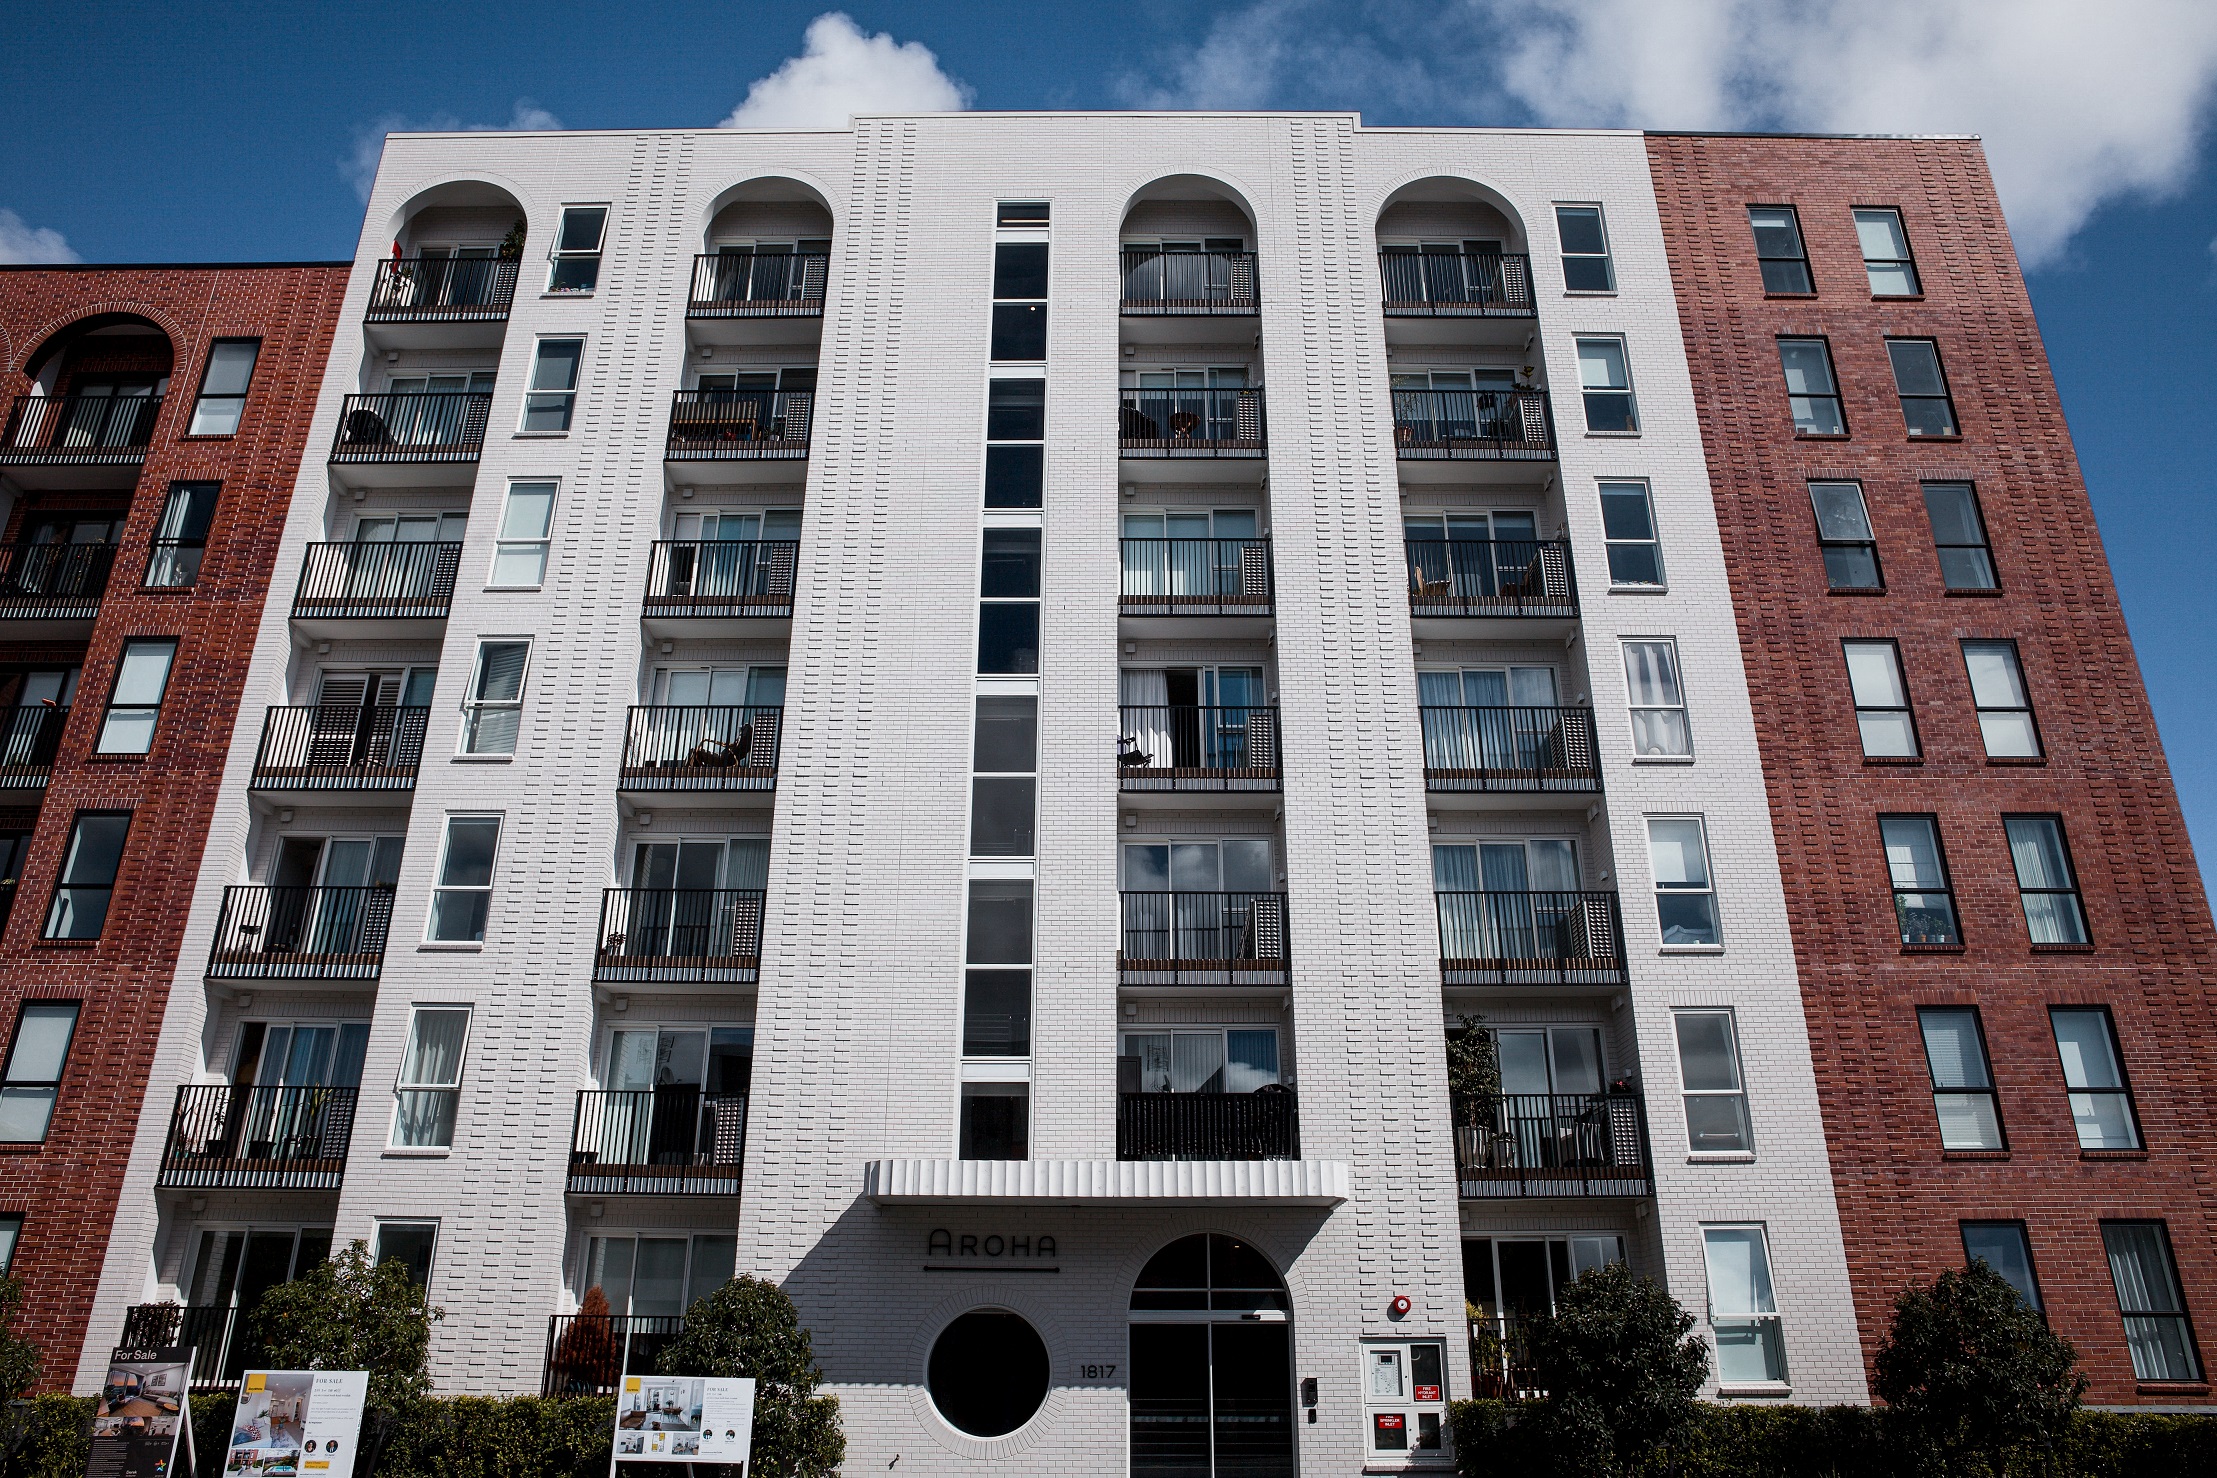
Frame Profiles: Form Meets Function
Not all window design profiles are created equal. Choices here impact performance, appearance, and installation:
- Flanged Frames: Common in older aluminium windows. Generally, they sit proud of the wall with the flange outside some claddings, usually interrupting insulation lines. While shown in standard building code acceptable solution details, they are generally intended for windows with poor thermal performance.
- Fix: Flanged windows with thermal breaks can be made to work with flashings to pull the flange inward against the RAB/sheathing board.
- Flat / Rectangular Frames (Recessed): Also known as architectural, shopfront, or flush-glaze profiles. These allow recessing of the window frame and better alignment with insulation for thermal performance. Typically, flashings are used as trim around the window to transition to adjacent cladding.
- Curtain Walls: Typically used for tall buildings or long vertical runs. The frames are hung from above and sit outside the structure.
- Unitised systems: Large, pre-glazed panels with split mullions.
- Stick-built systems: Installed component by component on site.
- Structural Glazed Curtain Wall: Similar to above, but instead of pressure plates and caps, the glazing is glued with structural sealant. This offers higher performance and a narrower aluminium profile at the exterior.
- Want better performance? Choose a profile with the best thermal break. Ask for the U-value of the frame (Uf). A Uf of 2.0 is ok, and 0.2 is very good. Place it as close as possible to inline with the insulation layer surrounding it.
Detailing and Installation: Where Performance Is Won or Lost
This is where window design often falls short not because of the system, but because of how it’s installed.
The typical window installation detail shown in E2/AS1 has the window sitting outside the thermal line on a WGANZ bar with an unsealed, stapled timber liner carrying the fixings and air seal. It may be considered an "Acceptable Solution," but if you look closely, there’s a lot of room for improvement.
Airtightness: Hard to See, But Critical
Air seals matter. One continuous perimeter interior seal between the frame and the rough opening is standard. However, typically that air seal is at the timber liner, meaning air can still get through the timber mitre joints or the junction between the liner and frame.
Our Installation Recommendations:
- Put the air seal between the frame and the taped rough opening.
- Post-apply timber or gypsum board liners to allow for the seals.
- Make sure the corner mitres are sealed.
- If windows must come to site with timber liners, tape over the exterior of the corner mitres and around the full perimeter (joint between liner and frame) before installing.
Pro Tip: Do NOT use spray foam as an air seal, as it can have voids or crack over time. Spray foam can act as insulation, but must have an interior sealant or tape air seal as well.
Sill Detailing
The sill needs to be fully waterproofed with an impermeable tape or membrane, as any infiltrated water will try to get out through the sill.
Our Recommendations:
- Good sill detailing requires proper waterproof and vapour-closed tapes or liquid membranes, tall upturns, and clear drainage paths.
- Delete Sill Trays: Consider relying on waterproof tapes/membranes instead. Trays can cause complications in detailing and installation. Sill drip flashings sandwiched into the sill tape or installed after the window can provide deflection.
- Drainage Holes: Always make sure there are drain holes within the frame and/or the sealant joint at the sill. This is the last line of defence.
- Consider where those holes drain to—they should drain out and over the cladding (not into the cavity) with a drip flashing to minimise staining.
Membranes and Continuous Thermal Lines
Membranes and tapes behind the cladding are the real heroes of window design. They provide weathertightness and pressure equalisation.
Our Recommendations:
- Choose the Right Membranes: Move away from unsealed, lapped underlays. Choose fully sealed, taped, waterproof, airtight, and vapour permeable membranes to increase performance drastically and allow design flexibility.
- Continuous Thermal Lines: Delete the WGANZ bar and pull the frame into the rough opening. The glass, thermal break, and wall insulation should be in line with each other.
- Sealing: Seal the exterior side of the frame to the external membrane or RAB board with compressible foam tape (if there is a flange), tape, or an external sealant joint.
- Redundancy: Don’t ever rely on a single bead of sealant. Make sure there are waterproof and airtight drainage pathways.
Continuous Thermal Lines: Reducing Thermal Bridging
To minimize thermal bridging, the glass, thermal break, and wall insulation should be in line with each other. A recessed detail differs from the standard acceptable solution, but it’s the only way to get full performance out of your window design.
Our Recommendations for Thermal Continuity:
- Delete the WGANZ Bar: Pull the frame into the rough opening to align with the insulation layer.
- Flashing Hierarchy: Use flashings to fill in the cladding cavity gap surrounding the window. Ensure the head flashing laps over the jamb flashings, and the jamb flashings drip onto the sill flashing and out.
- Recessed Alternatives: If a full recess isn't possible, consider recessed flanged frames or off-the-shelf flashing products.
- Exterior Sealing: Seal the exterior side of the frame to the external membrane or RAB board (and tapes within the cladding cavity). Use compressible foam tape (if there is a flange), tape, or an external sealant joint while ensuring there is drainage at the sill.
- Insulation Filler: Consider filling the perimeter of the window with spray foam between the interior and exterior seals (solely for insulation, not as an air barrier).
- Continuous Exterior Insulation: If you’re using continuous exterior insulation, the window can be installed within the cladding cavity line on intermittent angles or fixings.
Pro tip: don’t ever rely on a single bead of sealant. Make sure there are waterproof and airtight drainage pathways to make sure water gets out even when the seals and gaskets fail.
Fixed vs Operable: What’s the Right Move?
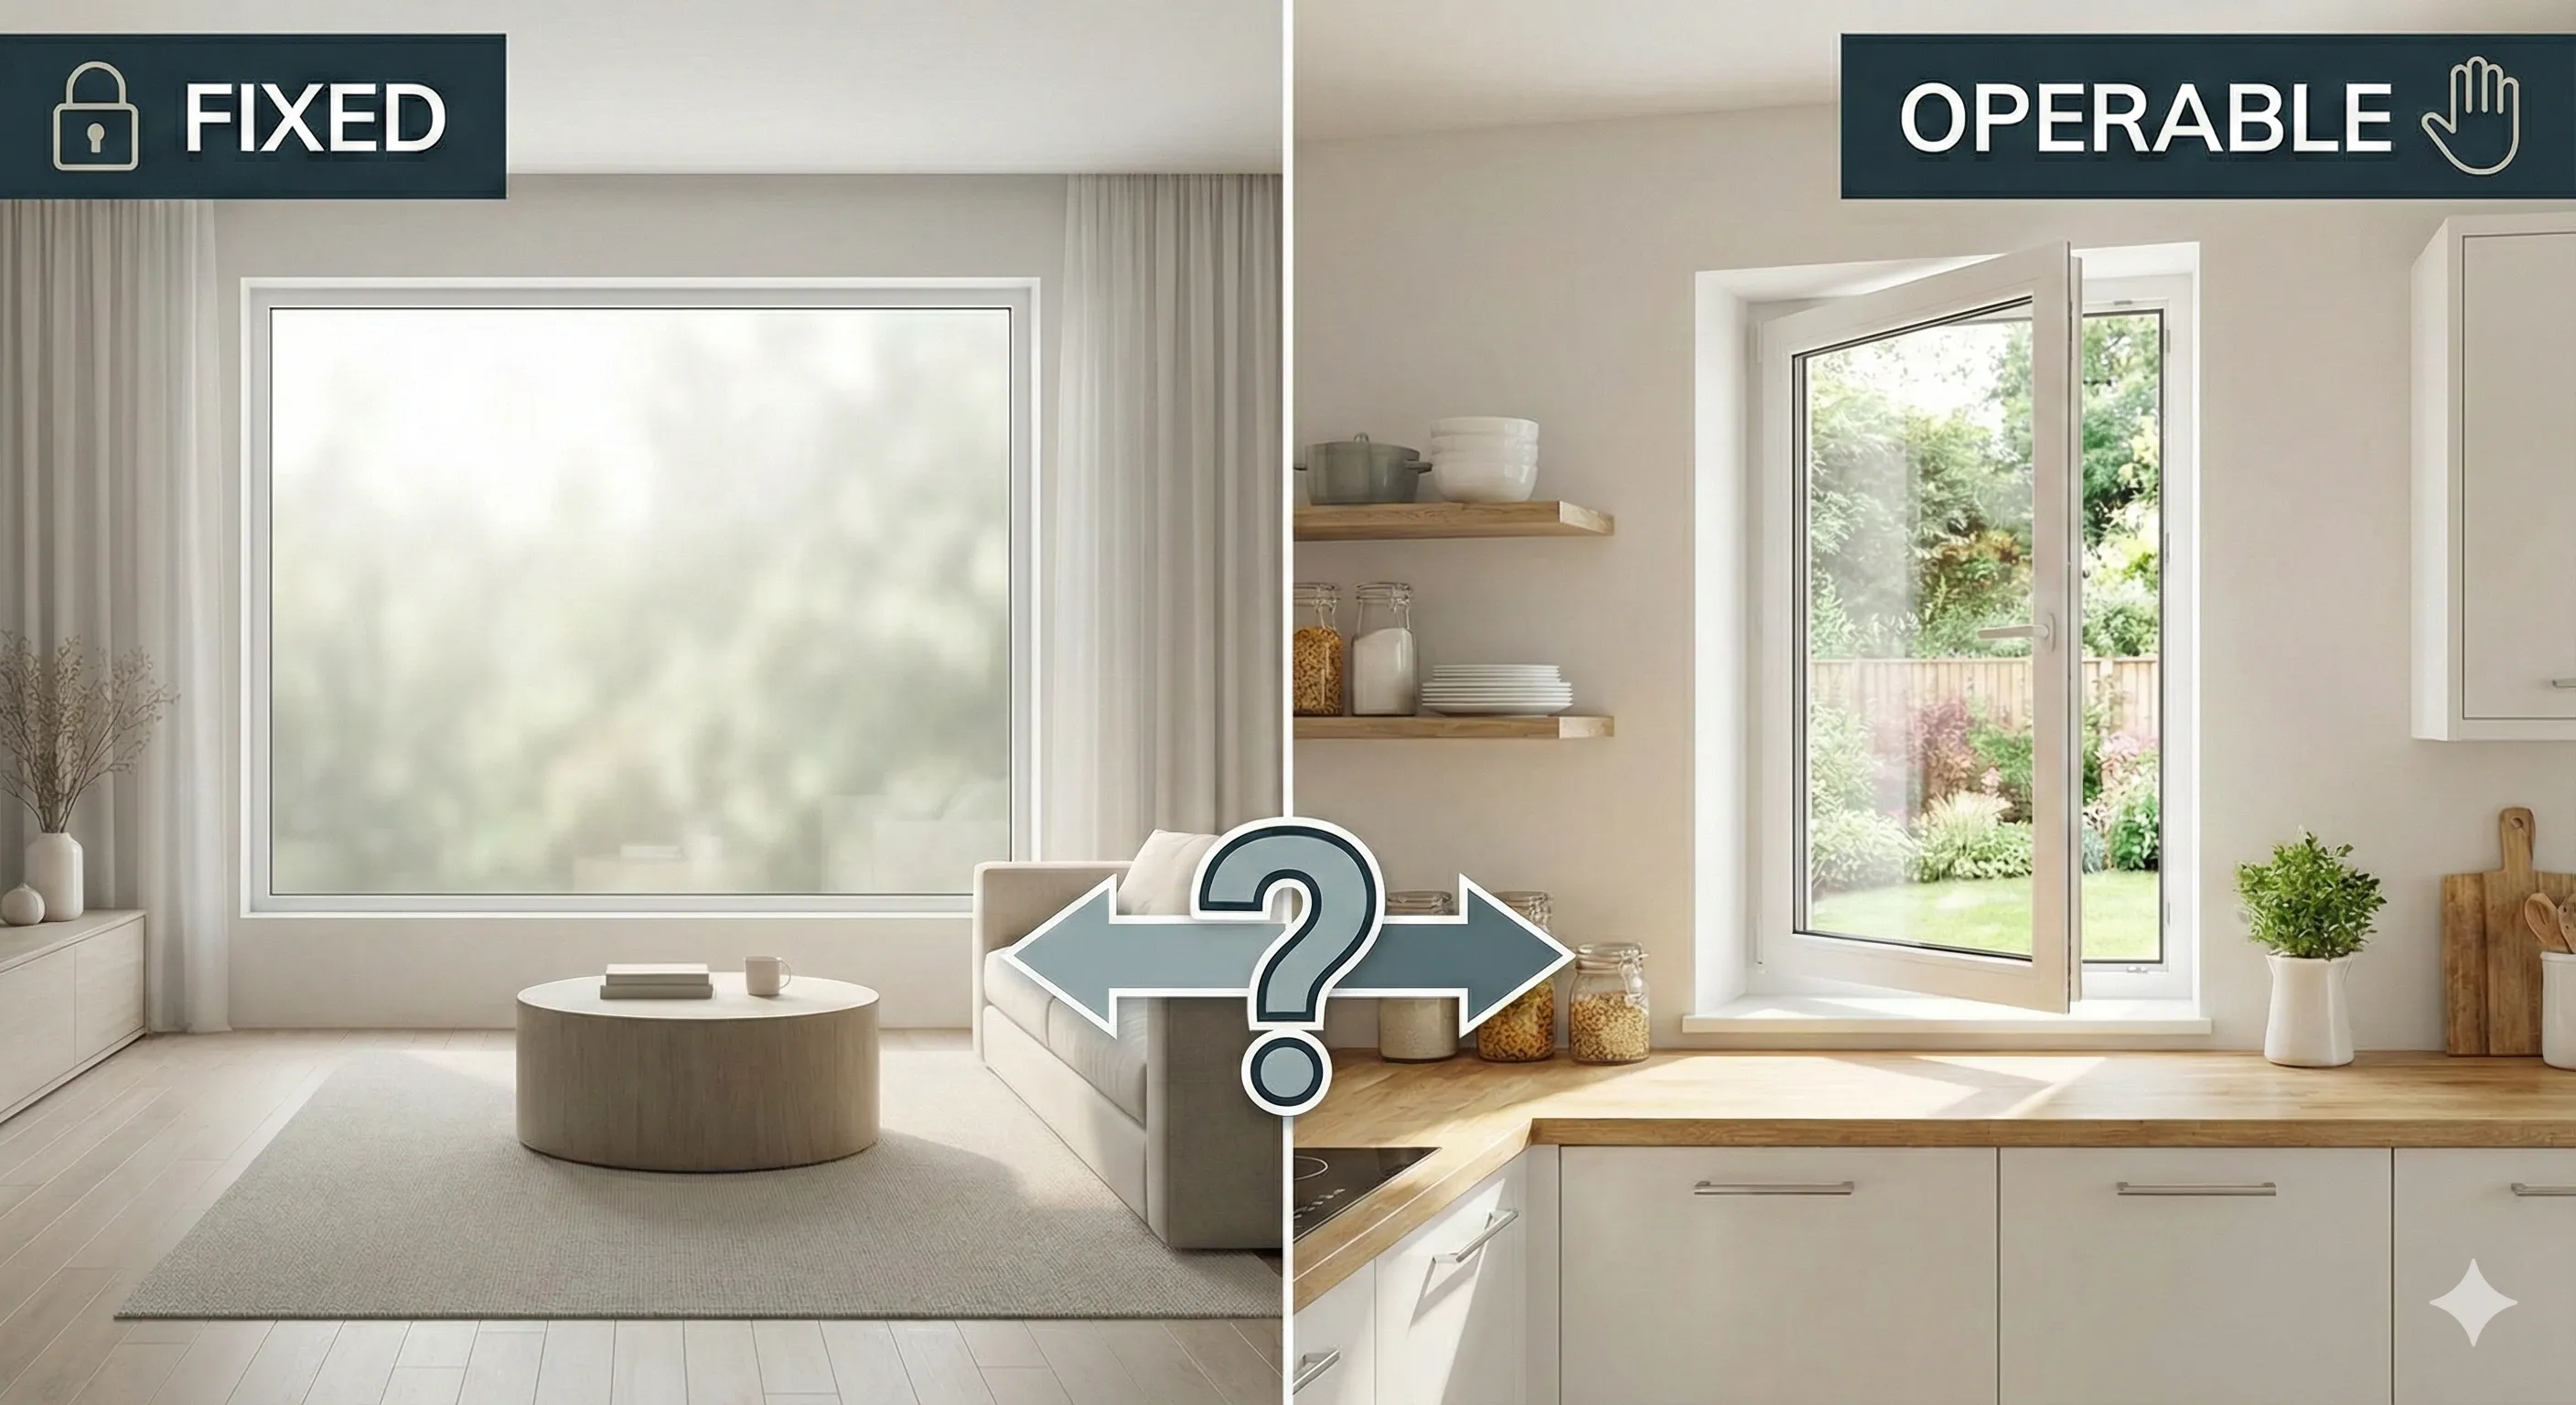
Every project needs to ask: does this window need to open, and how does it need to open? Fixed windows are easiest to detail, most airtight/weathertight, and most energy-efficient. But when operability is needed:
- Awning (Bottom opens outward) / Casement / Hopper: Awning is the most common sash type in NZ. Pros and cons depend on the supplier’s detailing and hardware. Always see and touch samples to compare.
- Louvre or Jalousie: Common in older homes. Great for airflow but the many joints and gaskets make them next to impossible to fully seal. Avoid where airtightness and weathertightness matters.
- Tilt-and-Turn: Popular in Europe. Offers versatility, rubber gaskets, and multiple lock points for good airtightness. A key benefit is the ability to clean the windows from the interior.
- Sliders: Typical sliders use brush seals which leak air. Newer technology (lift-and-slide or slide-and-compress) uses compressed rubber gaskets for substantially improved air- and watertightness.
Recommendation: We recommend operable windows and doors that have multiple locking points and compressed rubber gaskets for anywhere where airtightness, comfort, acoustics, and energy performance matters.
Glazing: It’s Not Just About Double vs. Triple
Glazing drives everything from energy performance to acoustic control in window design. Low-E coatings, gas fills, and spacer bars all influence how the space performs and how it feels.
Get it wrong, and you risk glare, overheating, or winter heat loss that no HVAC system can fully compensate for. Get it right, and you create spaces that are bright, quiet, and thermally balanced without comfort complaints.
(Want to dive deeper into glass selection? Check out our dedicated guide to architectural glass and glazing.)
Testing: Lab vs. Site Reality
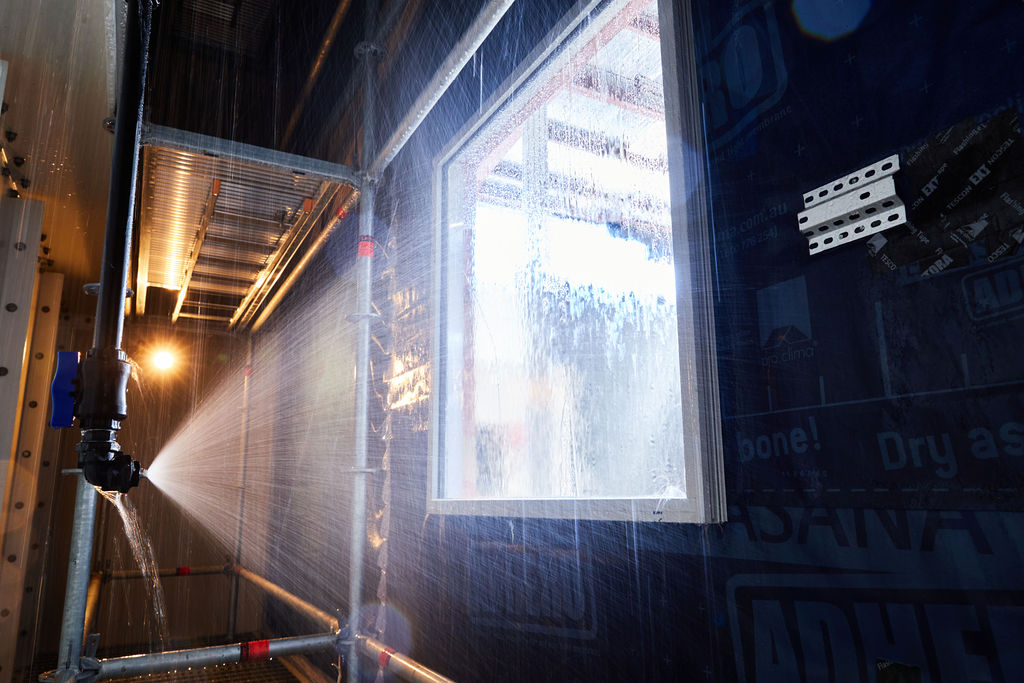
All window systems need to prove their performance, but there’s a big difference between theoretical compliance and real-world durability.
- Lab Testing (NZS 4211, 4284, etc.): Proves the window works under ideal conditions. It’s great for code compliance, but it does not provide QA on manufacturing, damage during transportation, or incorrect installation.
- Site Testing: Confirms it’s been installed correctly and is working properly on your actual building. It ensures the install crews are getting it right.
The Reality: We’ve seen too many failures come down to a lack of site testing. Lab results don’t always translate when the manufacturer or installer tweaks things on site. That’s why both lab and site testing are essential parts of robust window design.
Designing for Reality: Pressure, Drainage, Redundancy
Successful window design works because of three key principles:
- Redundant Seals: Just like a car door, windows need both an exterior deflection layer and an interior air seal. The exterior layer blocks most water while allowing drainage, and the interior air seal prevents airflow, creating pressure equalisation.
- Pressure Equalisation: The airtight interior seal blocks the flow of wind. The openings and channels behind the face seals allow the pressure in the cavity to quickly equalise with the outside pressure. This creates backpressure to discourage water entry and breaks capillary action.
- Drainage Pathways: Always assume some water will get in, because seals always eventually fail. Plan to quickly and easily get that water back out without damaging anything.
Simple rule of thumb? Don’t try to make it perfect. Design like the outside will leak and make sure it can drain and dry.
Window Design Giving You a Headache? Let’s Fix That
Windows are one of the most overlooked failure points, but they don’t have to be.
We partner with architects, designers, and developers to make window design and installation simpler, smarter, and more robust without killing the budget or the aesthetic. If you’re balancing performance targets, heritage constraints, or compliance hurdles, we can help:
- Specify systems that work for your climate, client, and code.
- Detail for airtightness, continuity, and zero cold spots.
- Test on site so you know your install actually performs.
Let’s make sure your windows look great and perform like they should—for years to come.
Email us at info@obsf.co speak to the team directly.
FAQ
What is the best window frame material for high-performance homes in New Zealand?
While standard aluminium is common in NZ, it is highly conductive and poor at retaining heat. For high-performance window design, we recommend uPVC as the best balance of cost, thermal efficiency, and durability due to its welded corners and low conductivity. Alternatively, thermally broken aluminium (specifically with wide thermal breaks) is an excellent choice for achieving a sleek aesthetic without compromising performance.
Why is recessed window installation better than standard flanged installation?
Recessing the window frame (pulling it into the rough opening) aligns the glass and frame with the wall’s insulation layer. This creates a continuous thermal line, which significantly reduces thermal bridging and condensation risk. Standard flanged installations often sit outside the insulation line, creating "cold spots" that reduce the overall energy efficiency of the building.
Is the standard E2/AS1 window installation detail airtight enough?
Not necessarily. The typical E2/AS1 detail often relies on an air seal at the timber liner, which can allow air to leak through mitre joints and liner connections. For robust window design, we recommend placing the primary air seal between the frame and a taped rough opening and ensuring all corner mitres are sealed. This prevents drafts and moisture issues that standard details might miss.