Upgrading older buildings isn’t just a necessity to seismically reinforce the structure, attract new clients, or refresh the look. It’s also an opportunity to improve indoor comfort and achieve building energy efficiency goals.
So how do you enhance building performance, comfort, and longevity without compromising character or durability?
The answer lies in understanding the science behind the building envelope and then using that understanding to choose the right strategy to get the biggest improvements with the lowest cost and complexity. At Oculus, we love turning complication into clarity and getting our clients the best bang-for-buck, especially when it comes to making older buildings better than new.
Is Retrofitting Older Building Worth It?
Absolutely! In a world where we need to be increasingly conscious of increasing energy efficiency, minimising waste, reducing emissions, and increasing population density around existing city centres, it’s a no-brainer to upgrade and reuse an existing building. The most resource-efficient building to build is one that you do not have to build from scratch, and using the existing structure while improving the enclosure allows you to:
- Increase energy efficiency to reduce operational carbon and to hit local and worldwide carbon reduction targets
- Sell/lease a newly completed, renovated building with much less embodied carbon than an equivalent new build
- Improve interior temperatures and occupant comfort, which is becoming more important as global climate patterns change
- Improve airtightness which can improve air quality
- Improve overall weathertightness to deal with more frequent storms
- Refresh the exterior and install new components that are more durable easily maintained
- Protect structure and other components (e.g. HVAC) by keeping them temperature controlled
For architects, retrofitting buildings presents a unique challenge as there are so many competing objectives to balance: a structure to work around, complaints to be addressed, and sometimes even occupants or traffic to keep safe, working and moving during construction. There’s also the learning curve in the design of assemblies and components to fit around the existing, and we haven’t even gotten to unintended consequences and condensation risk! There’s a lot going on, but it can be made simple if we consider the energy, water, air, and vapour flows through the building’s assemblies.
So with that in mind, let’s start where most people start: adding a bit of insulation and changing to a more efficient heat source. It seems like an easy choice, but you have to choose the right insulation and right heating for the situation to avoid problems down the road.
Adding Insulation and ‘Improving’ Heating to Existing Buildings: The Hidden Risks
Insulating existing uninsulated walls or tossing a bit more insulation into an attic seems like a no-brainer, but doing so without considering energy flows, airflows, and the original design of the building could have unintended consequences. Let’s look at a couple of examples:
- Villas and Bungalows - Older homes like these were not designed to be airtight, and had a large, open fireplace that was intended to be used all winter. The oversized fire would keep the main living area and some adjacent rooms warm with dry, radiative heat, and the airflow caused by the chimney exhaust would pull air in throughout the house which means moisture could dry out naturally. Adding insulation into the walls blocks airflow and keeps the heat inside, which means the walls themselves get colder, start to form condensation, and then can no longer dry out. Then switching from a large open fire to a heat pump for efficiency reduces the amount of ventilation and airflow throughout the house and therefore cannot provide the same level of drying during the cold and humid months. Both changes risk trapping moisture, leading to mould, rot, and ongoing headaches.
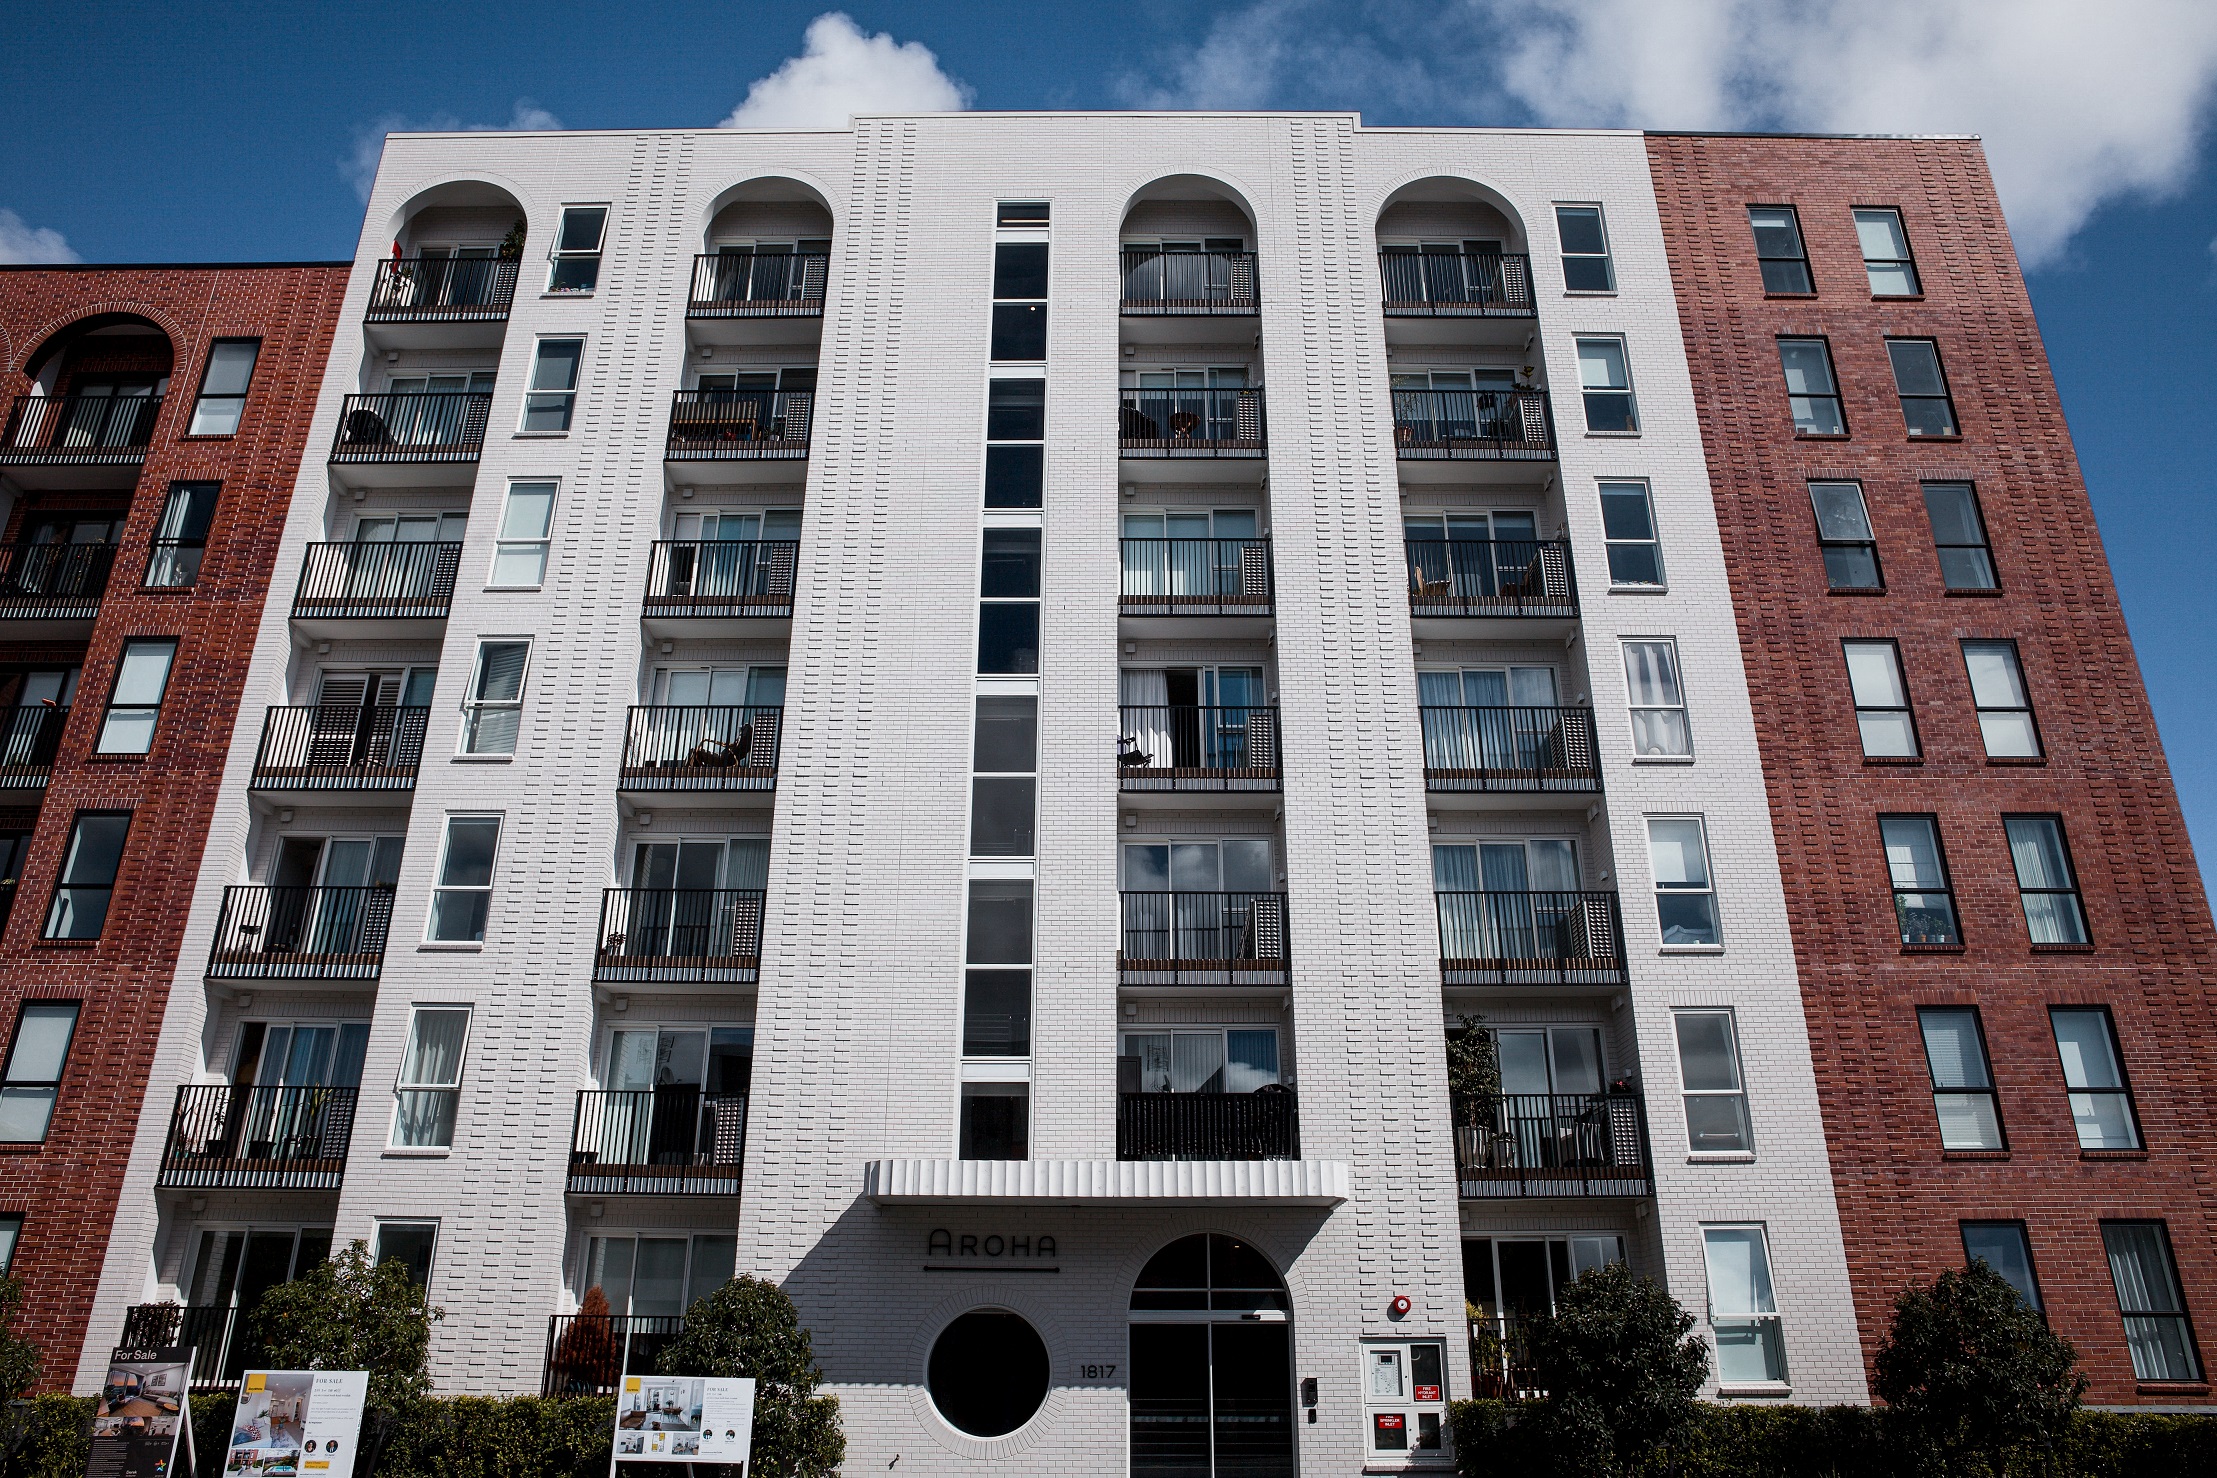
- Older High Rise Commercial with Curtain Wall - this is a very common type of building in urban areas and many are being seismically upgraded and/or refreshed to attract new tenants. Many were designed with uninsulated aluminium curtain wall with single glazing that controlled comfort and condensation by including a radiator or baseboard heating below all glazing. This is inefficient but very effective, as surfaces are kept above the dew point of the interior air which was also heated and dried with building-wide HVAC. Removing the radiators and adding an insulated timber frame wall inboard of the curtain wall would seem like a great way to improve energy efficiency, but the cold aluminium within that wall assembly would collect condensation as it would no longer be kept warm and the windows would likely start to fog. Similarly, if the heating is switched to a recirculating heat pump without any exterior air ventilation, the moisture problem could be further exacerbated.
- Older Masonry Buildings - this is another typical building type that is commonly being renovated and upgraded both for seismic and energy efficiency. They typically have uninsulated structural masonry walls that act as both the interior and exterior finish, and usually have multiple fireplaces in the building and many radiators throughout. As with the other two examples, an excess of heating is used to keep interior surfaces temperatures above the dew point, and the lack of airtightness allows airflow and moisture drive to dry the masonry both to the interior and to the exterior as necessary. It might be tempting to put insulation on the interior side, improve airtightness and switch to heat pumps to improve efficiency, but doing so would eliminate multiple drying pathways and could lead to degradation of the masonry in addition to condensation and mould.
What’s the commonality between these three examples? Reduced heating and reduced ventilation. Older buildings relied on an excess of heat from fireplaces and distributed heating through radiators which was very inefficient, but very effective at keeping surfaces above dew point temperatures to avoid condensation. They also had a lot of drafty airflow through walls, roof, windows, etc. and very little insulation which is terrible for comfort, but great for drying out moisture when paired with excess heat, as the air can reach most areas.
Reduced heating requirements and more airtightness is exactly what we want to improve the efficiency of a building, but to avoid unintended long-term consequences we have to think of energy, water, air, and vapour flows through the assemblies and make sure our energy efficiency upgrades will still allow the building to stay dry.
Steps to Keep Buildings Dry When Retrofitting
1 | Ventilation and Heating Come First
Before reaching for the insulation, address both airflow and heat sources. Insulation just slows the movement of heat—it doesn’t generate warmth, so we need to start by mitigating air washing through the insulation, and designing the heating.
Every bathroom and kitchen should have a fan that vents to the outside to remove most moisture from the source. And to ensure comfort and drying throughout the building, a balanced pressure ventilation system with heat recovery that is ducted to all rooms. Yes, it's an upfront cost, but it pays for itself in comfort, air quality, and energy efficiency and continues to improve as you upgrade the airtightness of the building.
With heating, it is essential to consider the type of heating (radiant vs air circulation vs both) and whether or not that heat is being used to control condensation on windows or other assemblies. If the existing building has radiators under each window, the radiators are likely keeping the windows dry and occupants comfortable, so replacing the radiators with a split unit heat pump without improving the windows would cause problems. A better option to maintain the existing windows while improving efficiency would be to use an air-to-water heat pump (instead of a gas or electric boiler) to supply the existing radiators, and/or a ducted heat pump with vents that discharge air toward each window.
Once the ventilation and heating have been designed to keep the air fresh, the assemblies dry, and the occupants comfortable, we can move on to airtightness to improve efficiency.
2 | Improve Airtightness and Vapour Control
We all know about the typical airtightness and draft stopping upgrades (closing gaps, replacing seals on windows and doors, etc.), but when we’re renovating a full building and replacing interior/exterior finishes, there are many more opportunities to improve airtightness of each system rather than just stopping gaps. If it’s being reclad or if cladding is being added, an external weather resistive barrier (WRB) membrane could be added over the existing wall or over new RAB/sheathing. If the interior finishes are being replaced, then an internal vapour control membrane could be added. Airtightness can also be provided by certain types of rigid insulation if taped and installed continuously.
When adding airtightness (and eventually insulation), designing for vapour control becomes necessary as we want to prevent relatively moist air from entering assemblies, finding cold surfaces, and forming hidden interstitial condensation. This interstitial condensation risk can be checked with modelling programs such as WUFI, but there are some rules of thumb that can make things easy:
- Put the most vapour closed components on the warm side of the wall (interior side in a heating-dominated climate such as NZ or Canada) to reduce moisture entering the assembly from the interior, and put increasingly more vapour permeable components outboard of that. This allows the assembly to dry to the exterior
- Specify continuous external insulation outside the structure/RAB/sheathing and ensure that ⅔ of the R-value is outside the structure, and only ⅓ within. This keeps the interstitial parts of the assembly above dew point temperatures
- Ensure continuity of airtightness detailing (e.g. sealed junction boxes for power points and switches, sealed penetrations to exterior, proper seals to windows), to avoid uncontrolled airflow carrying moisture to unintended locations. Check that you can draw one continuous line of airtightness through all drawing details.
Now that we have thought about which option might be best for airtightness and vapour control in the building, we can choose an insulation strategy that works best with that option.
3 | Choose the Right Building Insulation Strategy
With insulation, the type, material, location, and R-value all play a part. Choosing the right stuff for the right places that work in harmony with the assemblies/details is key to getting the biggest improvements with the lowest cost/complexity.
Here are some common approaches:
- Interior Insulation: This tends to be popular for concrete/masonry walls that are exposed to the exterior. While this can be designed to mitigate condensation risk by using a continuous layer of vapour closed foam insulation (e.g. XPS, PIR, or Phenolic foam) with taped seams and potentially a foil facer, it is not ideal. It does not take advantage of thermal mass and typically has major thermal bridging at floor slabs, windows and other penetrations. The typically used “strap and line” details shown in NZ acceptable solutions with battens and batt insulation are highly prone to interstitial condensation, should not be specified, and will eventually be phased out.
- Between-Stud Insulation: Can be effective, but prone to thermal bridging. This can work with timber studs in warmer climate zones, but relies on summer heat to dry out condensation that can collect over winter. Adding an interior vapour control layer and service cavity with horizontal timber battens can allow this assembly to work in all climates without condensation risk. This strategy is not recommended for use with steel studs (no, not even with thermal strips), as the thermal bridging and condensation risk is much too high.
- Structural Insulated Panels (SIPs): This is usually foam insulation with timber (plywood or OSB) or metal facers, but it can also be a precast concrete panel with insulation integrated between the structural and facer concrete layers. Using SIPs can be very effective and quick/simple to install, but details between panels and at terminations must be designed to be airtight and to avoid thermal bridges.
- Exterior Insulation: This is the most comprehensive and holistic way to insulate. It keeps the assembly, structure, and inner wall surfaces warm, it mitigates condensation risk, closes thermal bridges and gives you the chance to refresh or change the building’s aesthetics while boosting performance.
4 | Check and Mitigate Overheating in Buildings
After choosing an insulation strategy, it’s also extremely important to check for and mitigate overheating risk, as it would be a huge failure to take an existing working (but inefficient) building and trade it for an efficient building with areas that are unbearably hot to work in.
Insulation is great at keeping the heating in during the winter, but it can also trap heat during the summer if too much solar heat is let in through the windows. It’s much more comfortable and efficient to keep the heat out rather than using air conditioning to cool the house down after it overheats.
Check for overheating risk with modelling (PHPP, Speckel, Energy Plus, etc.) and then use strategies to reduce solar gains such as:
- Reducing the ratio of glazing to opaque wall
- Reducing the amount of glazing facing North (in the southern hemisphere), south (in the northern hemisphere), and west
- Adding shrouds/canopies/overhangs to block summer sun while allowing in winter sun (make sure these are checked for effectiveness with a solar study or modelling)
- Using glass with a tint or clear low-e coating with a Solar Heat Gain Coefficient (SHGC) or g-value of 0.45 or lower
- Adding operable roller shades or shutters to the exterior of the window
- Using landscaping (trees, shades, pergolas) to block the sun
- Using electrochromic glass for variable shading
Need Support?
The right strategy fully controls all condensation risk and improves occupant comfort while also improving aesthetics and working around the existing building and new structure.
Heating strategy, insulation, airtightness, and vapour control are all interconnected and must go hand in hand. Heat pumps, underfloor heating, or radiators paired with good ventilation, airtightness and proper insulation detailing can create a consistent indoor climate that avoids condensation and supports occupant health and comfort.
When it comes to retrofitting buildings, shortcuts and partial fixes aren’t worth the risk. And if you’re already stripping out the building to add structural components, it’s much cheaper to upgrade the enclosure at the same time than as a separate project. We believe in making buildings not just warmer—but healthier, more durable, and smarter.
Oculus partners with architects and project teams across New Zealand to solve retrofit challenges holistically. From hygrothermal modelling and WUFI analysis to PS1/PS4 services and construction monitoring, we’re here to guide the way - so you can deliver better outcomes at a lower cost with fewer surprises.
Get in touch with us today if you’re looking to develop a high performing building.